If you haven't noticed, Dungeons and Dragons has taken a serious upswing in popularity thanks to new shows and podcasts. This fantasy tabletop game has caught the interest of many new players in their tweens and teens, but it can seem a little underwhelming to start with a blank map after seeing some of the epic builds long-time players have amassed.
So here's an at-home craft project to start the basics with a tabletop cardboard castle. It can be used in Dungeons and Dragons gameplay, or as a model. If you have the mind to it, you can even scale the pattern up for larger pieces.
If you want some inspiration for drawing your castle design, try checking out How to Draw Fantasy Art and Maps, The Atlas of Middle-Earth, or any of our Dungeons and Dragons collection.
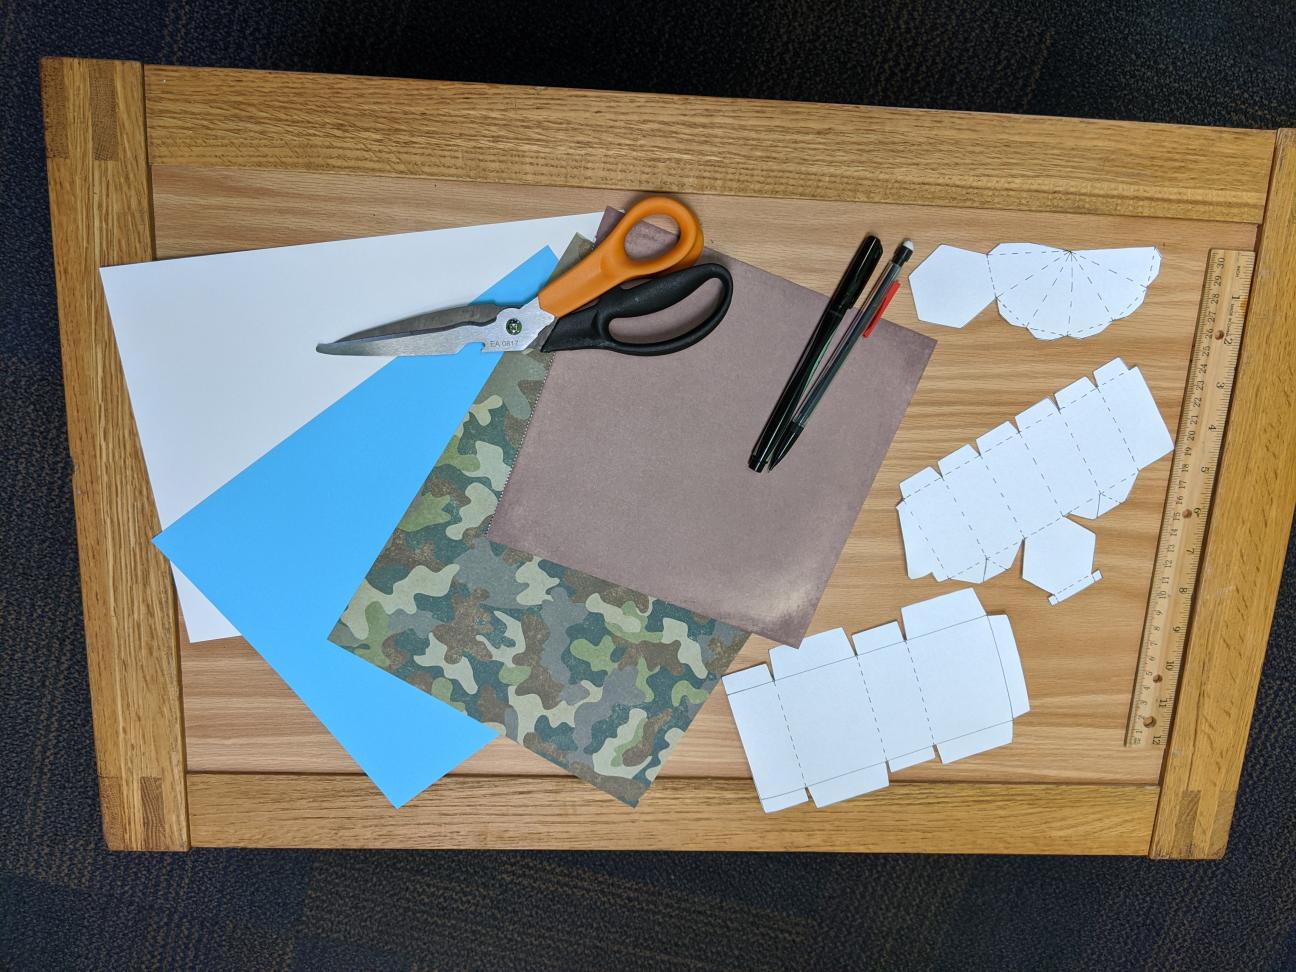
Tools and Materials:
- Strong Scissors
- Glue or tape
- Heavy cardstock or Thin cardboard such as cereal boxes
- Pens, colored pencils, or markers
- Ruler
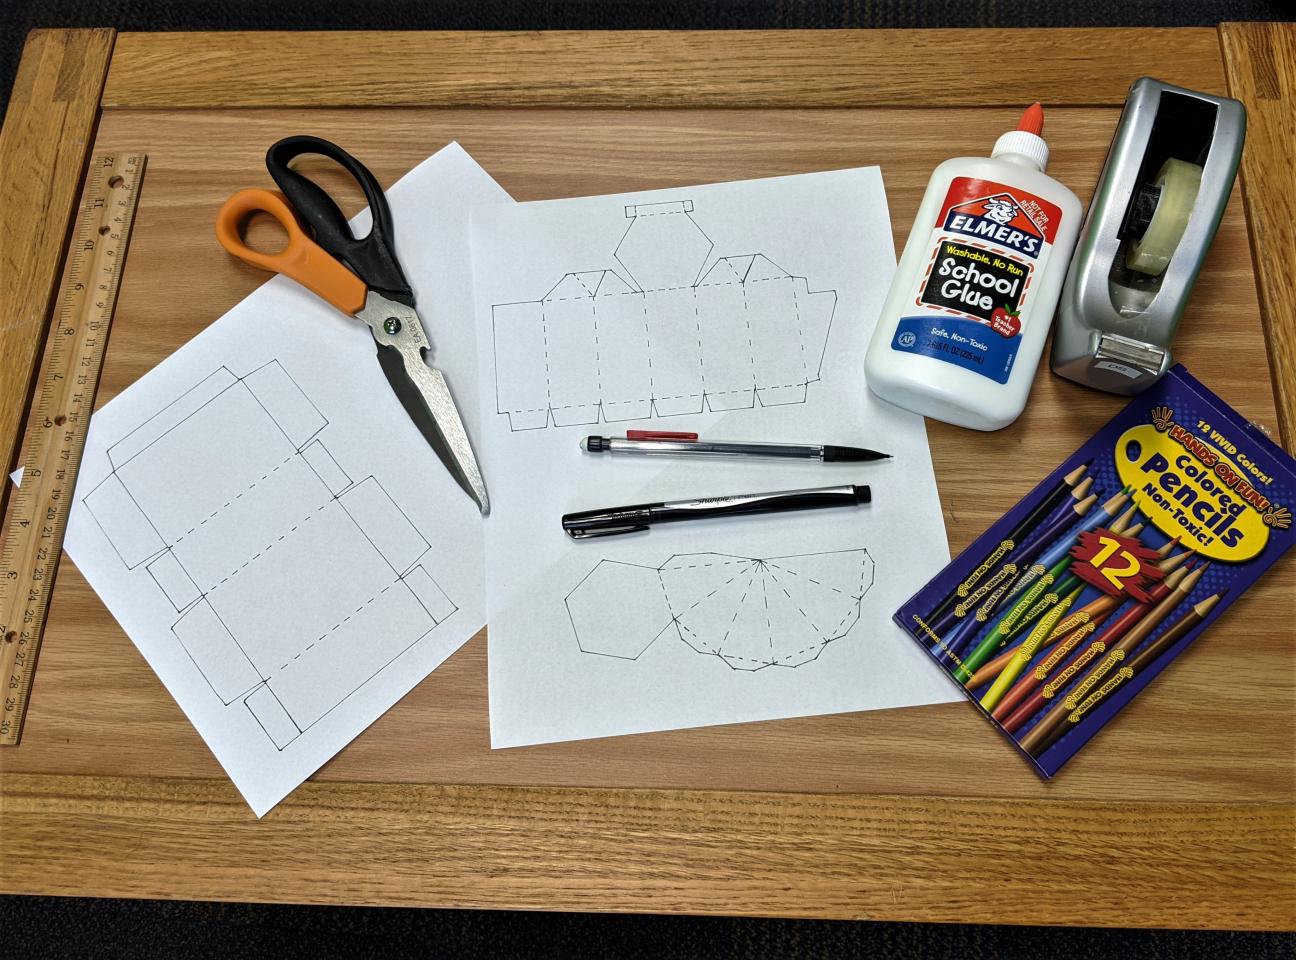
Step One: Print off the following pattern, and cut it out along the cut lines. These work best when printed "at actual size".
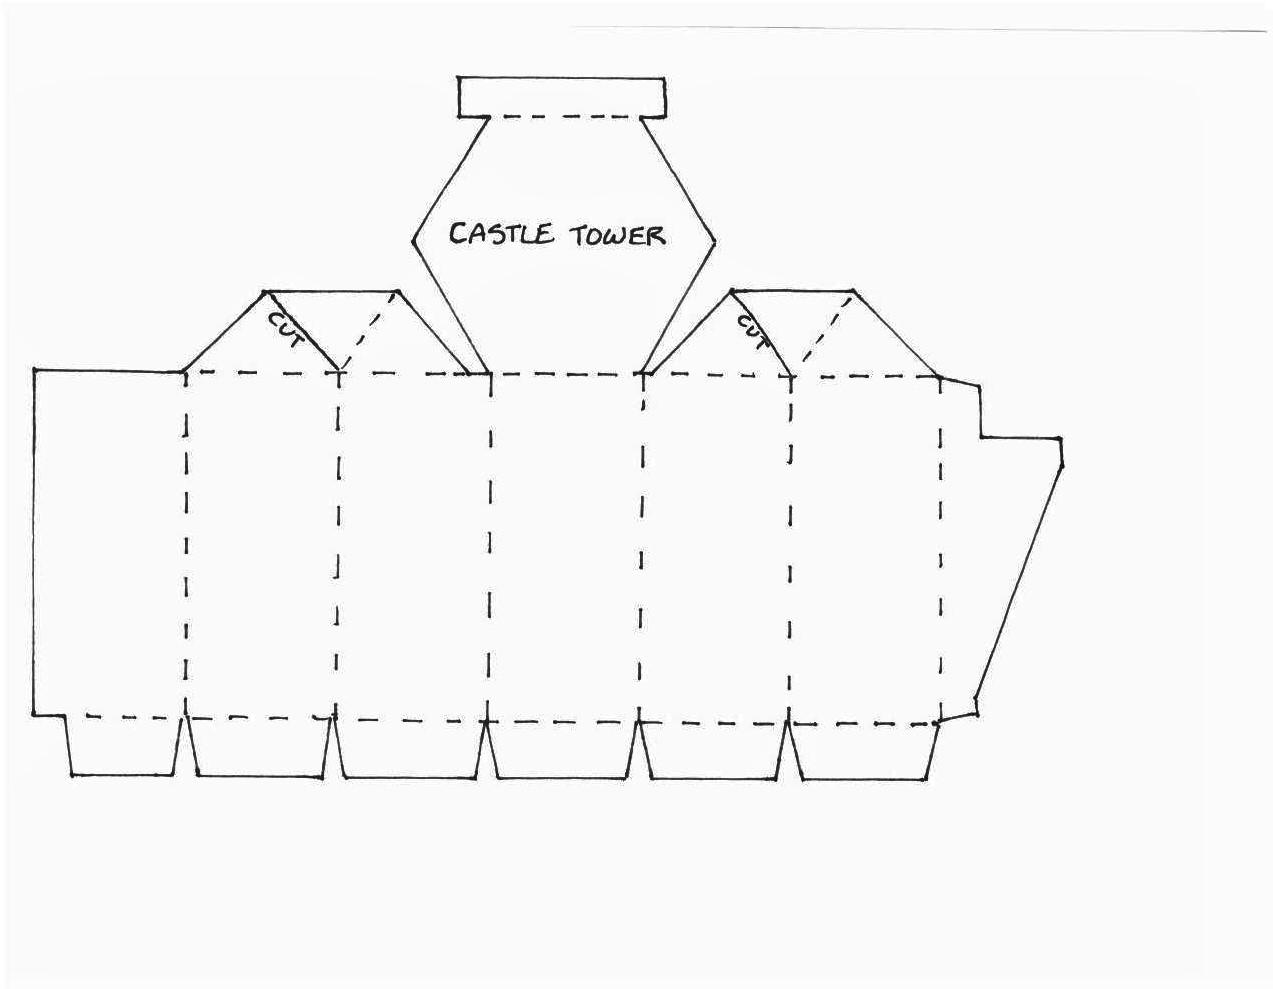
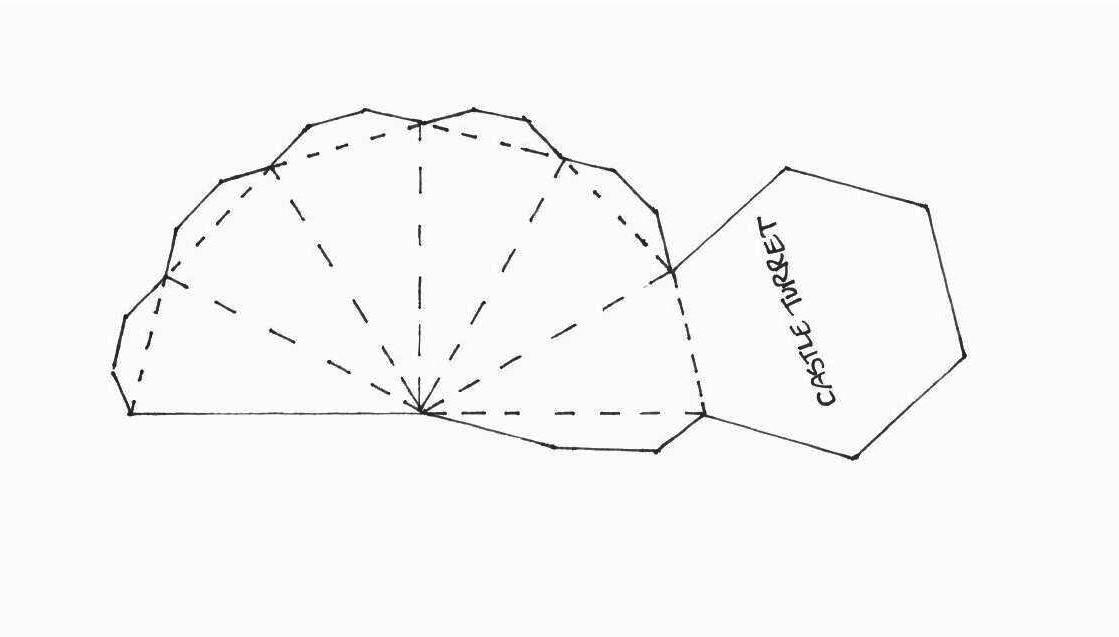
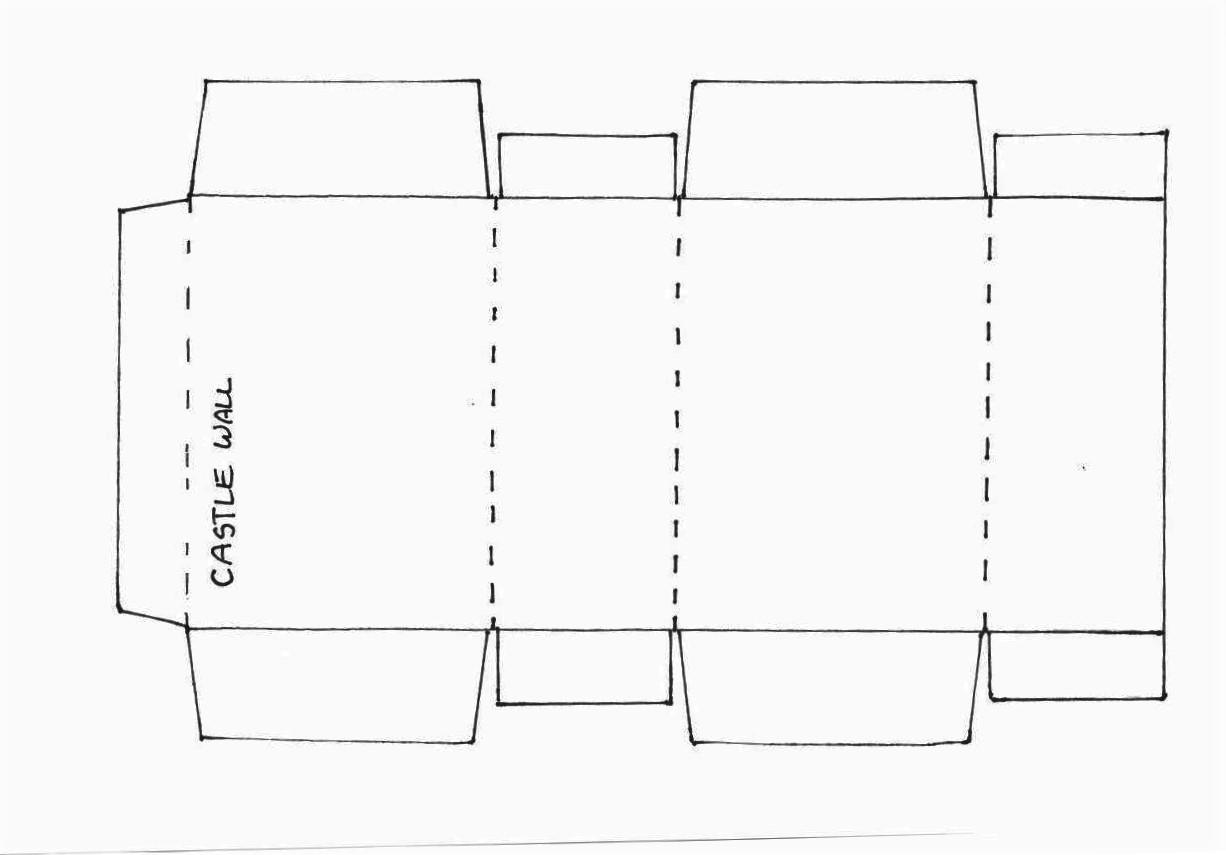
Step Two: Trace the pattern onto your cardboard or cardstock. You can use colored or textured paper too!
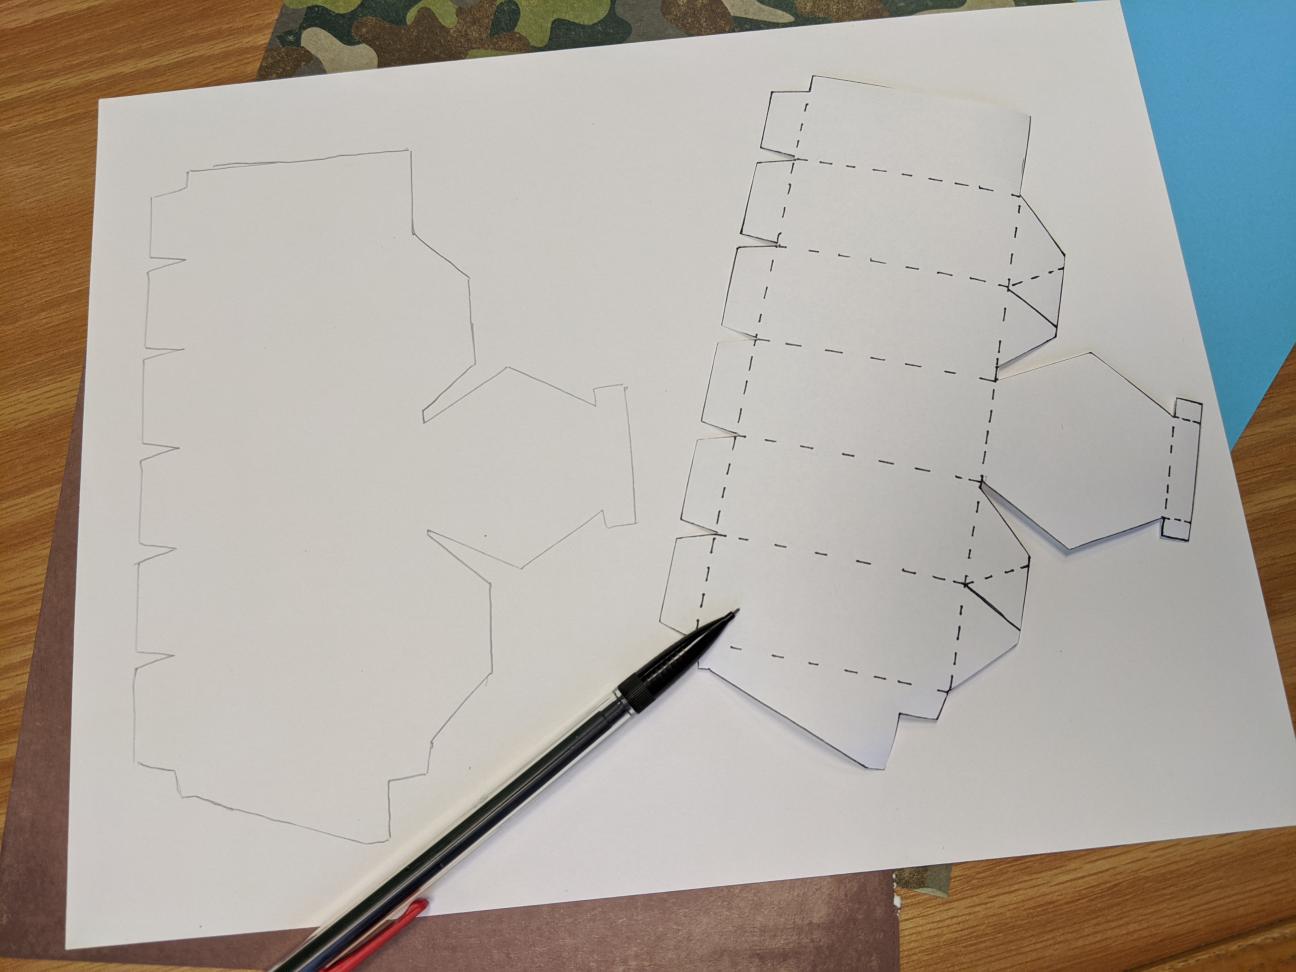
Step Three: Cut along the solid lines (outside lines). On the tower piece, don't forget to snip the solid line on the two flaps!
Step Four: Fold along each of the dotted lines.
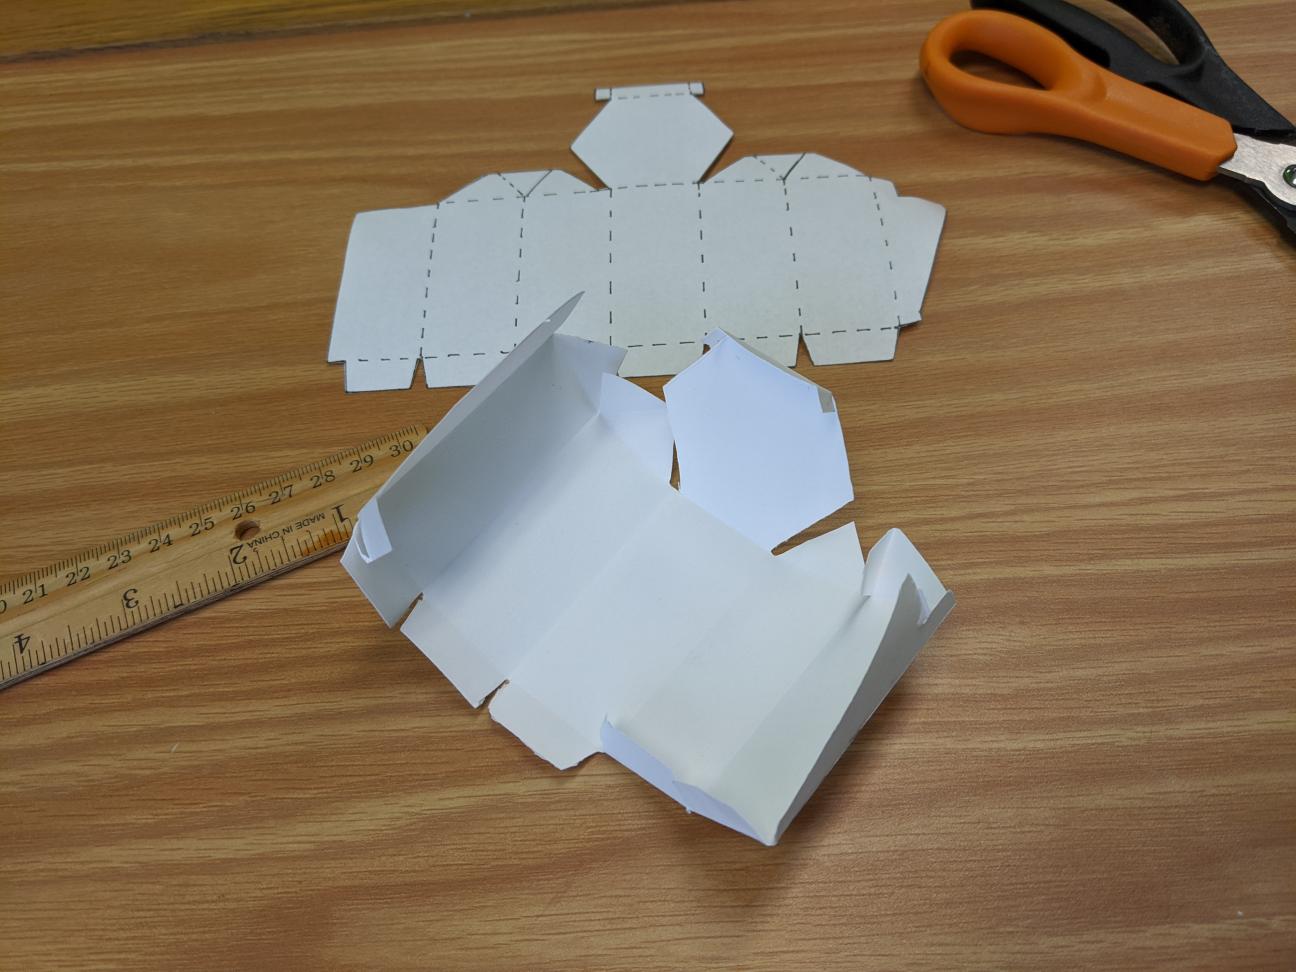
To get a neat sharp edge, run a ruler along the fold.
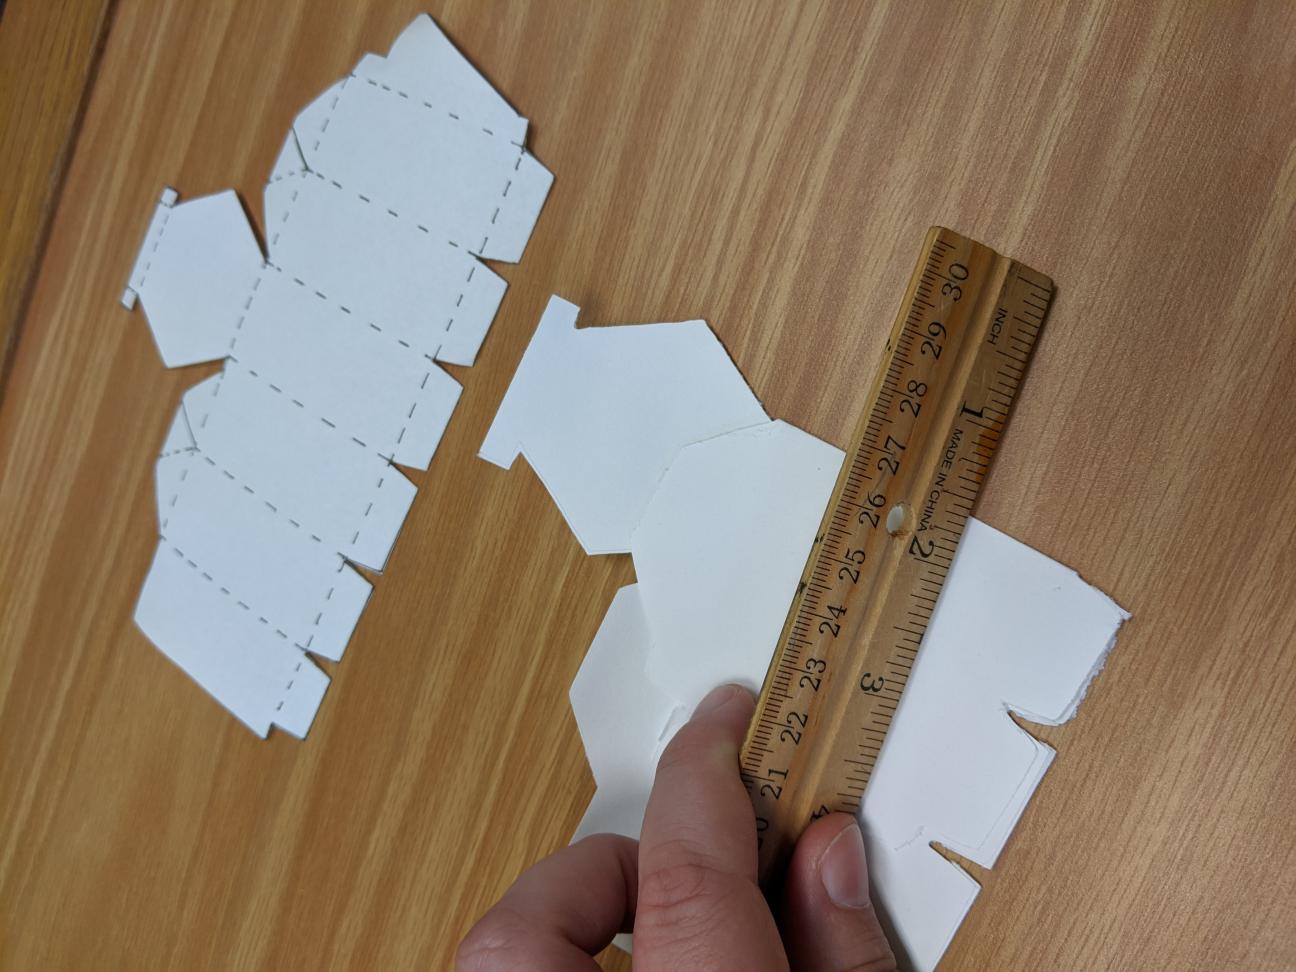
Step Five: You can paint and draw on your castle pieces before assembly to get clear details and lines.
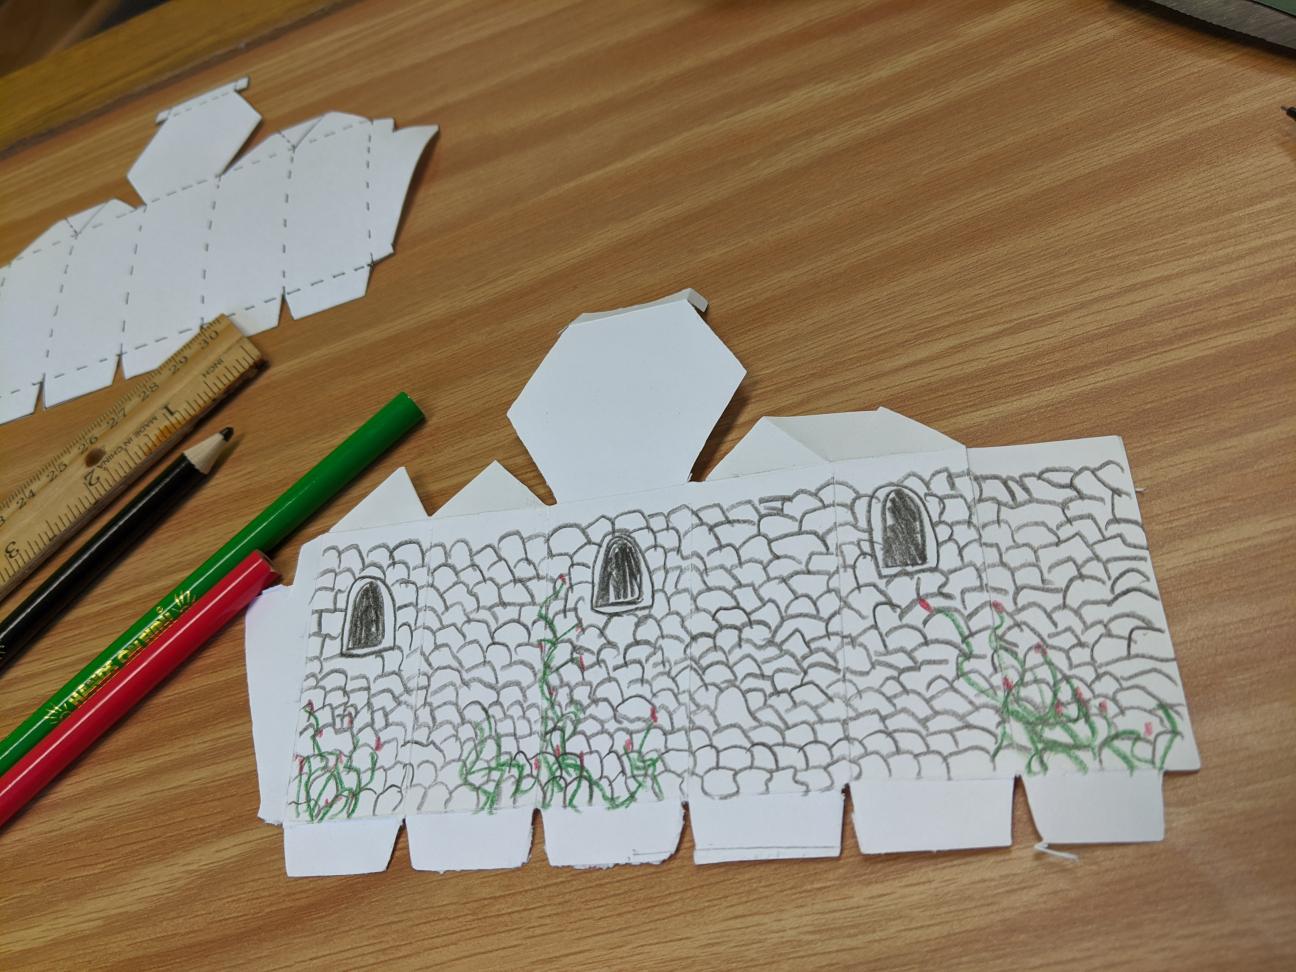
Step Six: Glue or tape the tabs down. Stack and glue your castle together. Or, if you want to be able to move the pieces around and change the castle shape, use double sided tape.
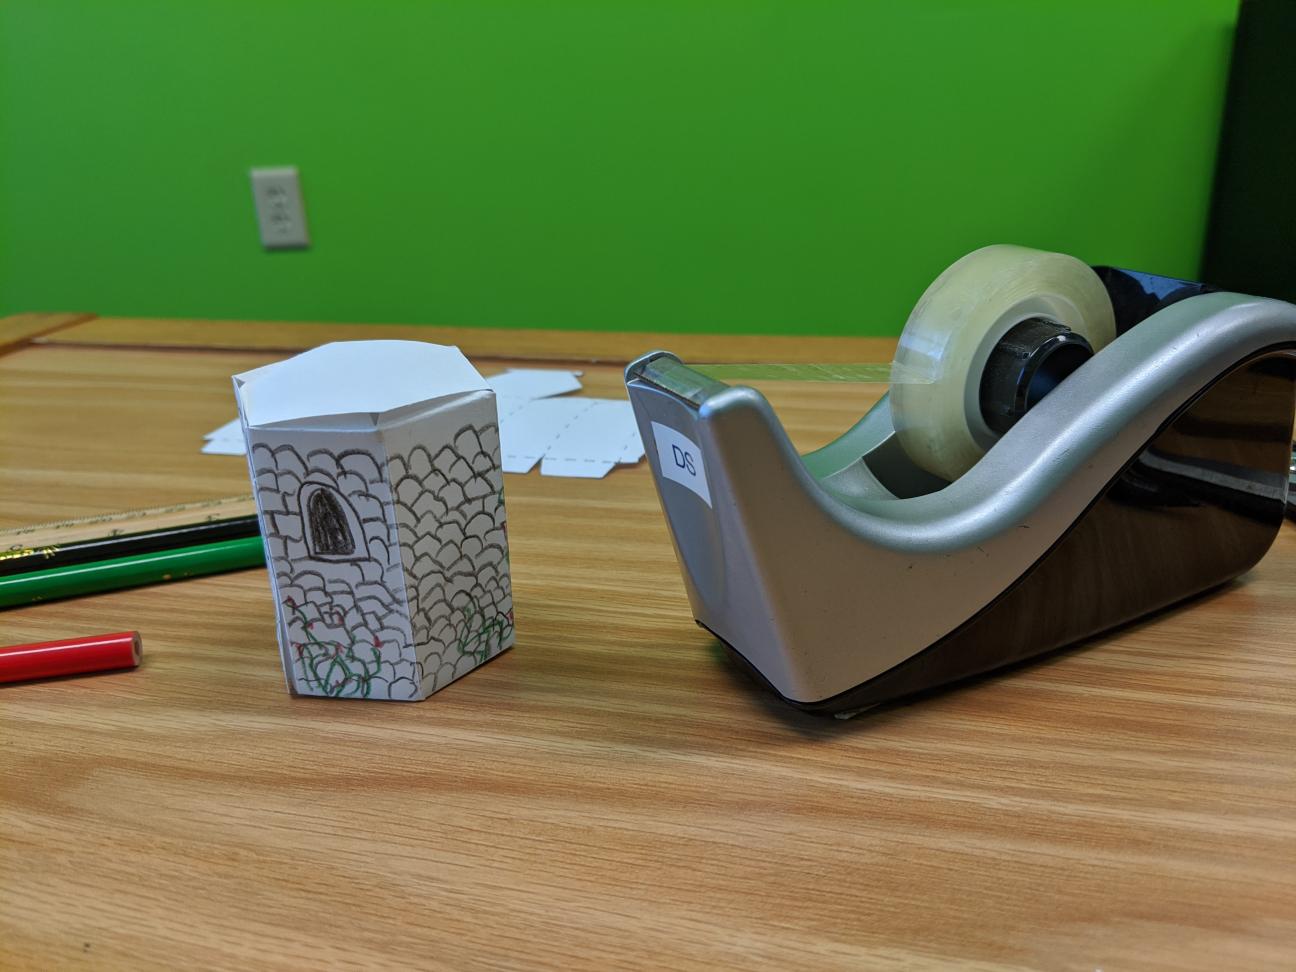
Repeat for all the pieces you'd like to make! Make towers like I did, and walls with the square pieces.
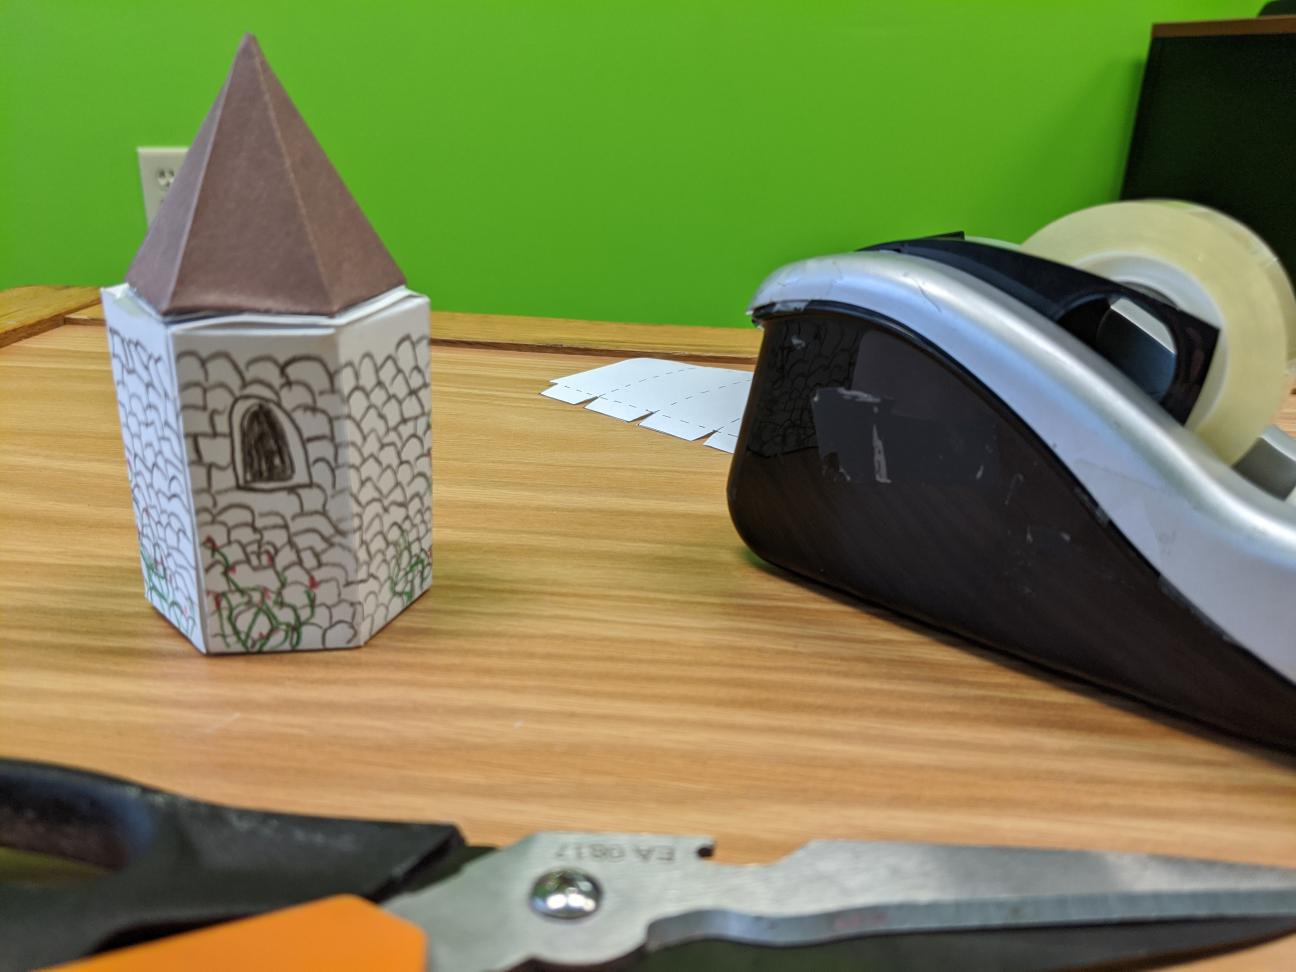
If you like this project and are interested in more paper crafting, browse our Paper Craft selections or check out our eSource Creativebug!
Happy Gaming!