Making and flying kites is an activity that people have done for thousands of years. In addition to being a form of entertainment, kites have also been tools in scientific research and in warfare. In fact, Benjamin Franklin used a kite to experiement with lightning and electricity.
National Kite-Flying Day is a day of celebration where kite enthusiasts encourage the making and flying of kites each year on February 8th. Kites can be made out of many types of materials, including plastic bags and paper lunch bags. The kite we'll be making will be a simple paper kite, but you can have fun trying to make kites out of different materials and seeing which ones fly the best.
Interested in learning more about kites? Check out a few of our books below on the history of kites and how to make them.
You can also browse CreativeBug for more paper crafts to try!

Materials
- Paper (8.5 in x 11 in)
- Wooden Skewer
- String
- Popsicle Stick (optional)
- Tissue Paper or Paper Streamers (optional)
- Clear Tape
- Hole Punch
- Markers to decorate your kite (optional)
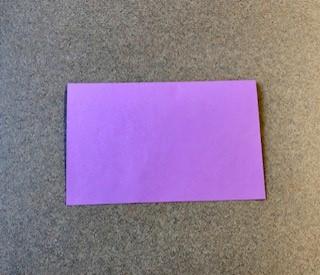
Step 1 - Fold your paper in half along the short edge.

Step 2 - Lift and fold one side of the folded paper at an angle, similar to the left image above. Flip the paper over on the other side and do the same thing, matching the folded edge to the first one.
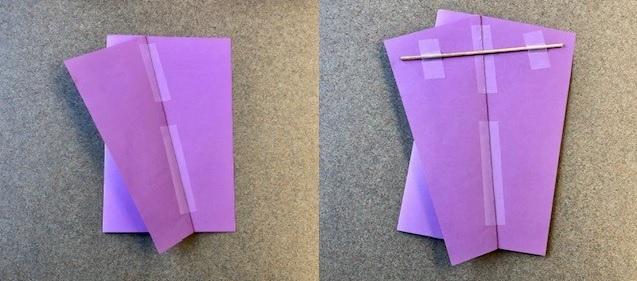
Step 3 - Lay one side of the paper flat so that both wings are visible. Tape down the middle to hold the shape of the kite.
Step 4 - Break the wooden skewer in half and tape it down at the top of the kite. It is recommended that you use the non-pointy end of the skewer for your kite.
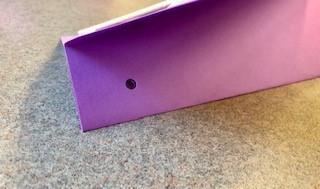
Step 5 - Using the hole puncher, punch a hold in the front end of the bottom of the kite. This will be the shorter side in the area directly below where you placed the wooden skewer.

Step 6 - Put your kite string through the hole you made and tie a knot to securely attach the string to the kite. If you'd like, you can also place tape over the hole after you finish tying the string, to make it a little more secure.
I wrapped the kite string around the popsicle stick before I began making the kite to keep it neat and prevent the string from getting tangled.
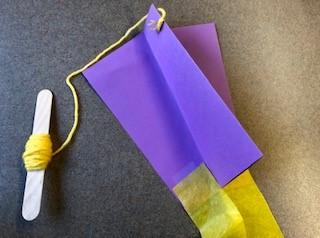
Step 7 - Tape the paper streamers or tissue paper to the back end of your kite (the end opposite of the hole). You can add more tails if the material is light, as it keeps your kite from rolling around in the wind.
Kite tails should be around 2-3 times the length of the kite. You can start with longer tails if you'd like, and just trim them later. If you use a heavier material, like ribbon, the tail should be shorter so that it doesn't weigh the kite down.
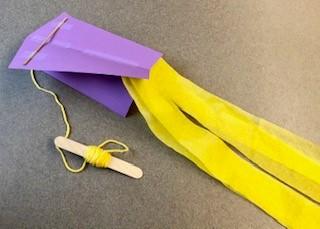
And now your kite is ready to fly!
When flying your kite, be careful of your surroundings. Stay away from power lines and be aware of trees that your kite or string could get caught in.


