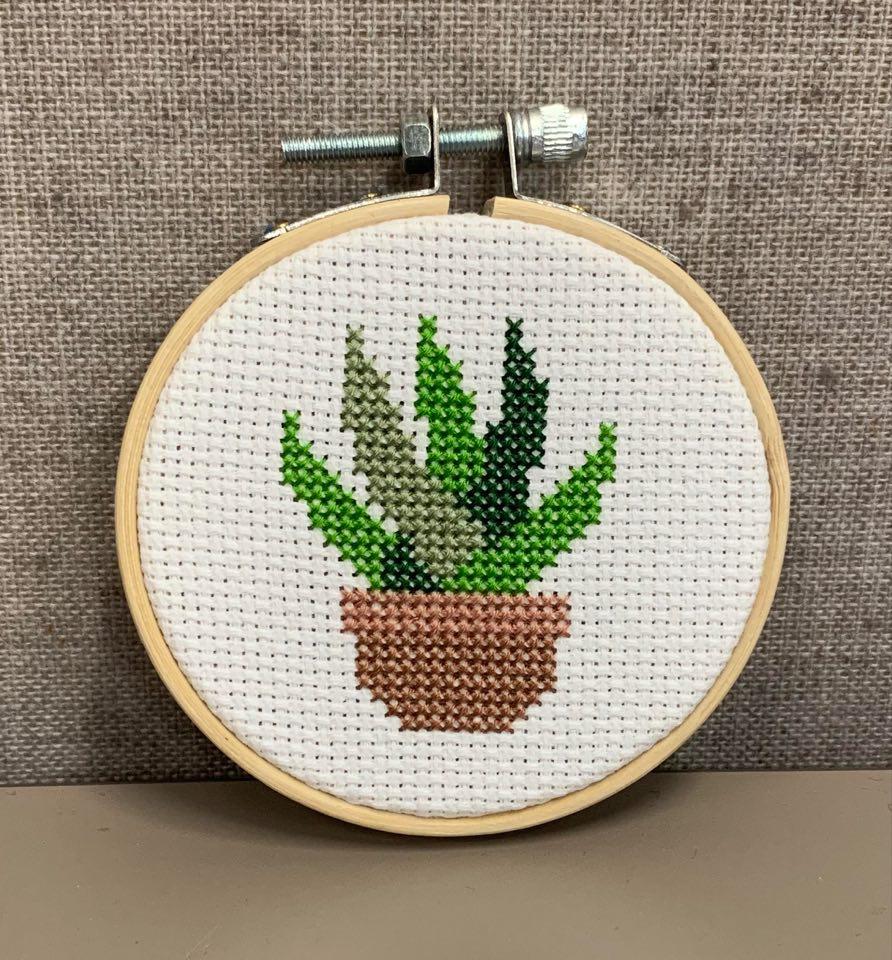
Supplies you will need for this project:
- Embroidery Hoop (I am using a 3-inch hoop)
- Cross Stitch Fabric (I am using a 14-count size)
- Tapestry Needle (size 24 or 26 is most commonly used)
- Embroidery Floss (For this design I am using DMC 3052, 3345, 3346, 3772, 3859)
- Scissors
- Pattern (see attachment)
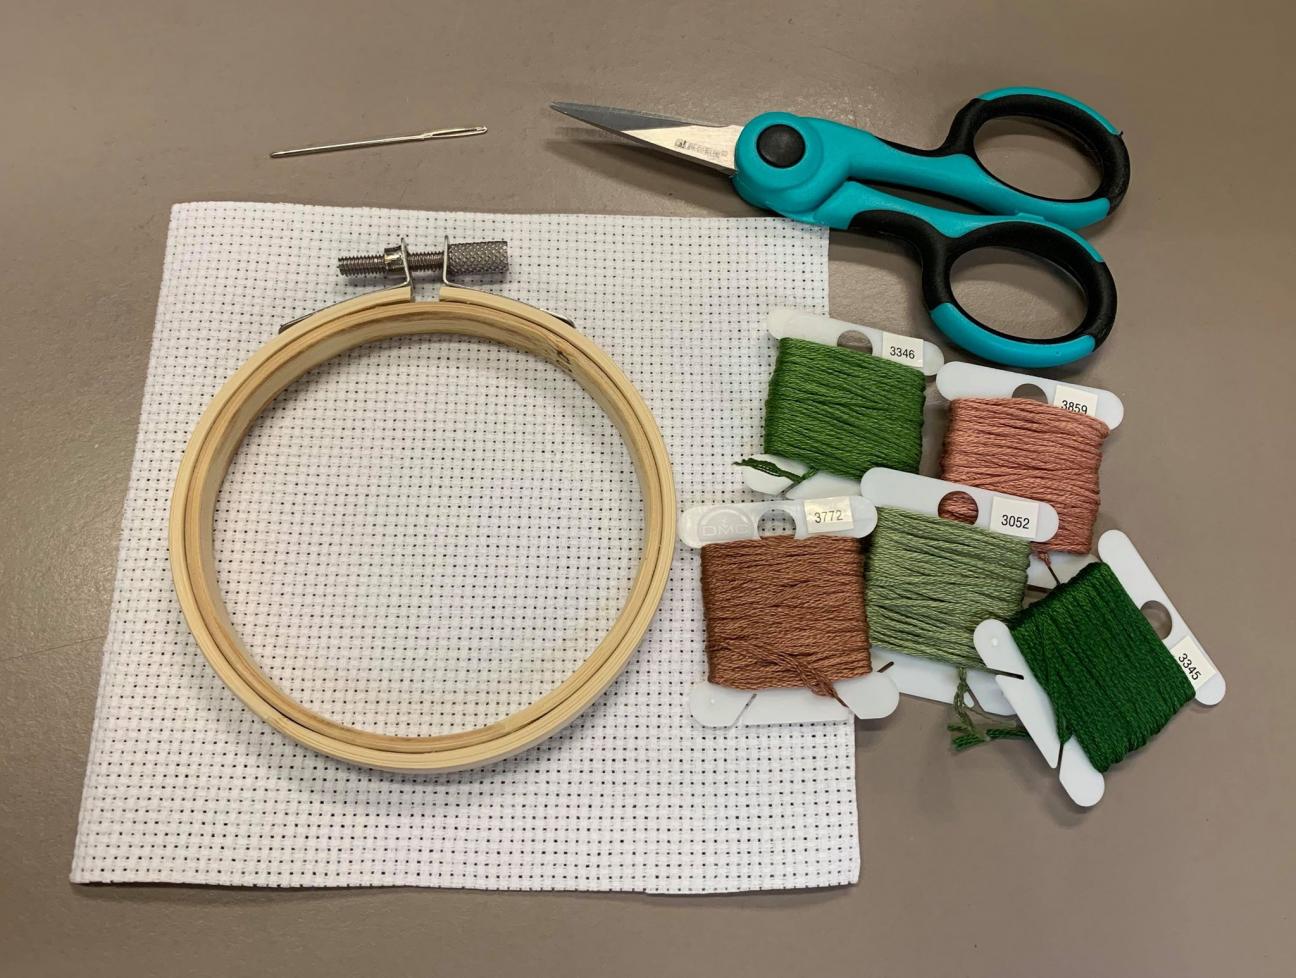
I am using 14-count cross stitch fabric for this design. The fabric will normally come rolled up or pre-cut into sheets. I try to buy mine in bulk and cut out the size I need for various projects. For small designs, like this example, I like to cut my fabric so I have an extra inch on each side of the hoop. Since I am using a 3-inch embroidery hoop, I cut out a 5x5 inch square of fabric (see supply photo). If you don't have a ruler to measure your fabric, you can always lay your hoop on the fabric to estimate about an inch on each side. You also want to find the center of your fabric, so you know where the center of your design should start. Fold your fabric in half in one way then the other, making sure to pinch the center crease so you can see it.
Step 2: Place your fabric in a hoop
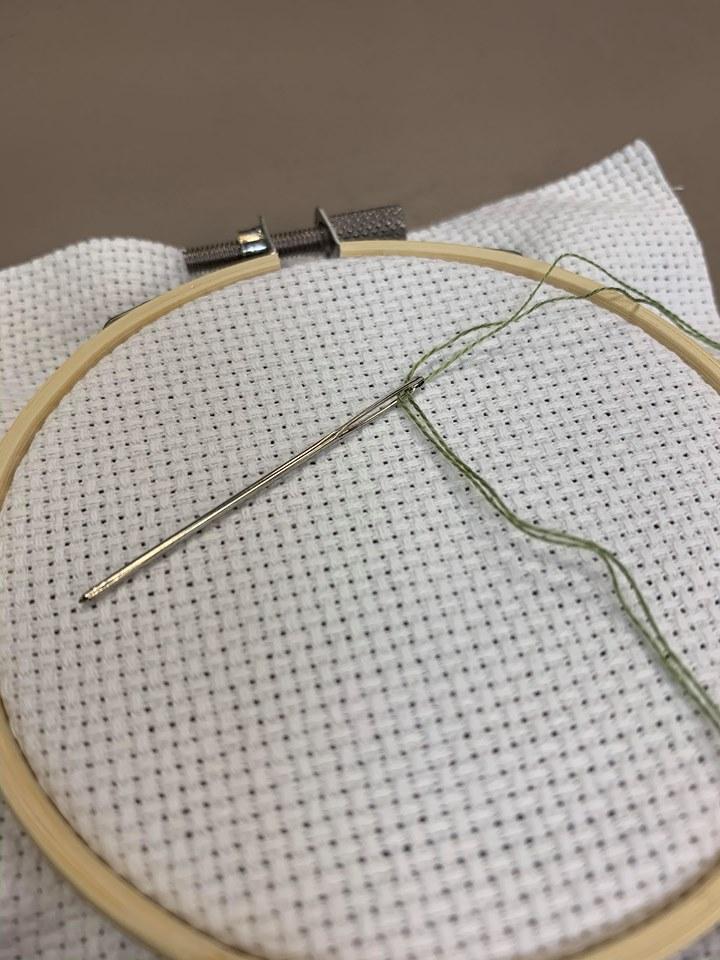
Once you have your fabric cut to the correct size and have found the center, you will need to separate the two pieces of your hoop. Place the inner piece of the hoop on a flat surface and lay the fabric over it, making sure that the center of the fabric is in the center of your hoop. Then place the outer piece over that and press down so the fabric is between the two pieces of hoop. Gently pull on your fabric so it is taught, as you tighten the outer hoop.
Step 3: Prepare your thread and thread your needle
Take a look at the pattern you are working with. Most patterns will be labeled with arrows to show you the center of the pattern. This is where we are going to begin and this is the color of floss you should start with.

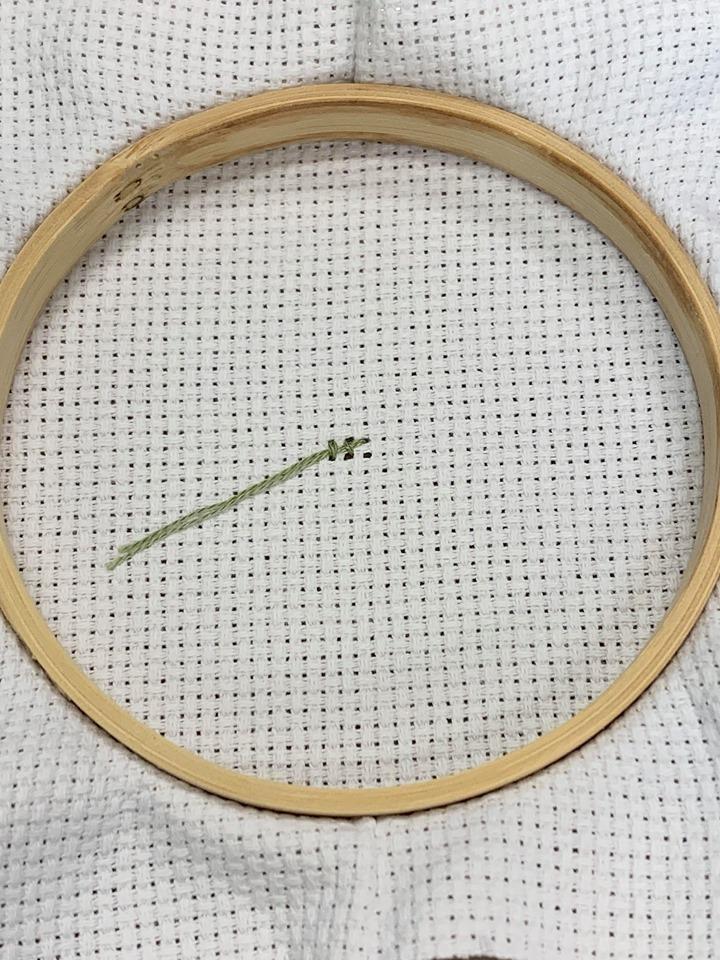
When cross stitching, you will normally work row to row going from left to right. Find the center of your fabric and start from the back, bringing your needle through to the front. You want to leave about an inch of thread, because you will stitch over this tail end to secure it. You generally don't want to knot your thread because it will create bumps. Cross your needle diagonally to create half of an "X", making sure to hold onto the tail so it doesn't pull through. I generally stitch from top left, to bottom right, then top right to bottom left, but some people stitch from bottom to top, etc.
Next, you want to stitch through the hole directly above the one you just went through. Before you pull this tight, flip your fabric over and make sure the tail end of your thread is going underneath your thread to be secured. Flip your fabric back over and continue stitching in the same direction until that row is complete for that color on your pattern. Once you've gotten to the end of the row, stitch back in the opposite direction to complete your "X"s.
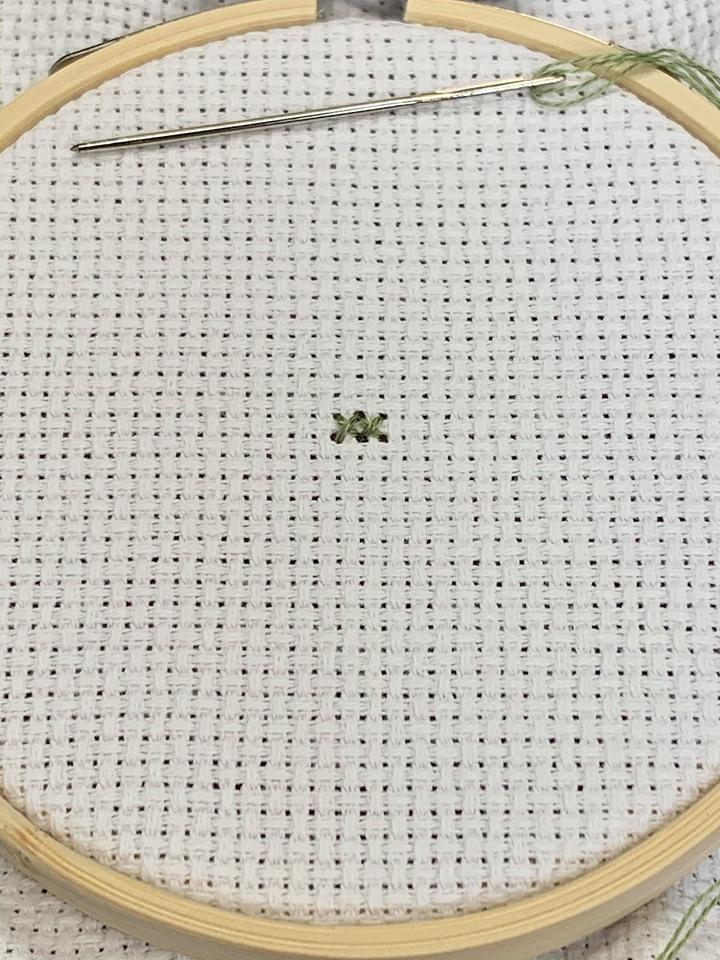
Sometimes in your design you might find it easier to complete a single stitch before moving on to a different row or area. To do this, simply make the first half of your "X", like we did when making rows, by stitching one half and then finish the "X" with the other half.
Step 6: Ending your thread
Keep stitching until you have finished with a color or are about to run out of thread, then you will need to secure it. Flip your fabric over and pass your needle under a couple of secure stitches. You can then trim any excess thread from the tail.
Soon you will become comfortable with simple cross stitches. As you are stitching, you may find that your thread begins to get a bit twisted. Every so often, you should hold your hoop up and let the thread and needle hang freely to unwind. I listed on the pattern which colors of DMC floss I used for each portion of the design. You can always switch these up and use different shades or colors if you wish. You can find free cross stitch patterns online, but you can also purchase them or make your own. The library also offers books with fun cross stitch patterns you can try. There are also cross stitch and embroidery classes on Creativebug, available for free with your library card.