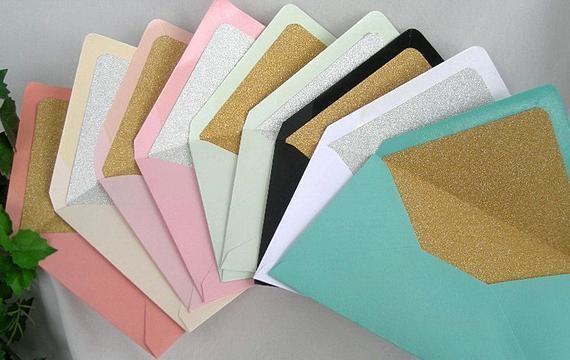
DIY glitter lined envelopes are super cute and easy to make for any occasion. Add a pop of color to your stationery by following the instructions below:
Materials Needed
- V-flap envelopes
- Glittery cardstock
- Scissors
- Pencil
- Mod Podge Gloss
- Paint brush or foam brush
Instructions
Step 1: Lay the cardstock glitter side down on a hard surface and lay the envelope opened on top. Trace the outside edge of the envelope onto the cardstock.
Step 2: Cut out the shape drawn, but cut along the inside edge about 1/4 inch inward so that the cut cardstock is actually smaller than the envelope.
Then check the size by inserting the paper into the envelope and verify that when fully inserted the sticky layer on the flap is completely visible as you will still need this to close the envelope.
Step 3: On the backside of the cardstock, brush on a thin layer of Mod podge and carefully insert the glitter paper back into the envelope and press in place so that the glitter peeks out of the flap but does not cover the sticky portion.
Step 4: Allow to dry for several minutes. Then carefully fold the flap over to bend the cardstock in the correct place.
There you have it! Your own glitter stationery!
For more DIY projects and crafts, visit our esource CreativeBug. You can also check out our collection for books on DIY projects, crafts, gardening and more.