It's almost time! Students will either return to or enter school for the first time in Alachua County on Tuesday, August 10th.
This can be exciting for some and nerve wrecking for others.
Regardless of whether your child is excited or nervous about the coming school year, it is good to have some routines in place to help ease the transition from a relaxing summer to early, laborious school days.
Try these useful tips to help prepare your new or returning student for success:
- If you haven't already, change your routines now. (Bedtime, mealtime, etc.)
- Read books about going to school together.
- Encourage your child to be independent by dressing him or herself, etc.
- Talk to your child about what to expect.
- Acknowledge your child's feelings.
- Help yourself with whatever it is you'll need before you can assist your child through this transition.
- When it is time to say goodbye, reassure your child that he will see you later.
And, as the year progresses and your child's strengths and weaknesses begin to manifest, remember two of my personal favorite tips from a New York Times article:
- Value the process over the product.
- Love the child you have, not the one you wish you had.
And just for fun, guide your student in creating this easy DIY pencil holder that they can take pride in having made for themselves as they begin the year's adventure:
Supplies
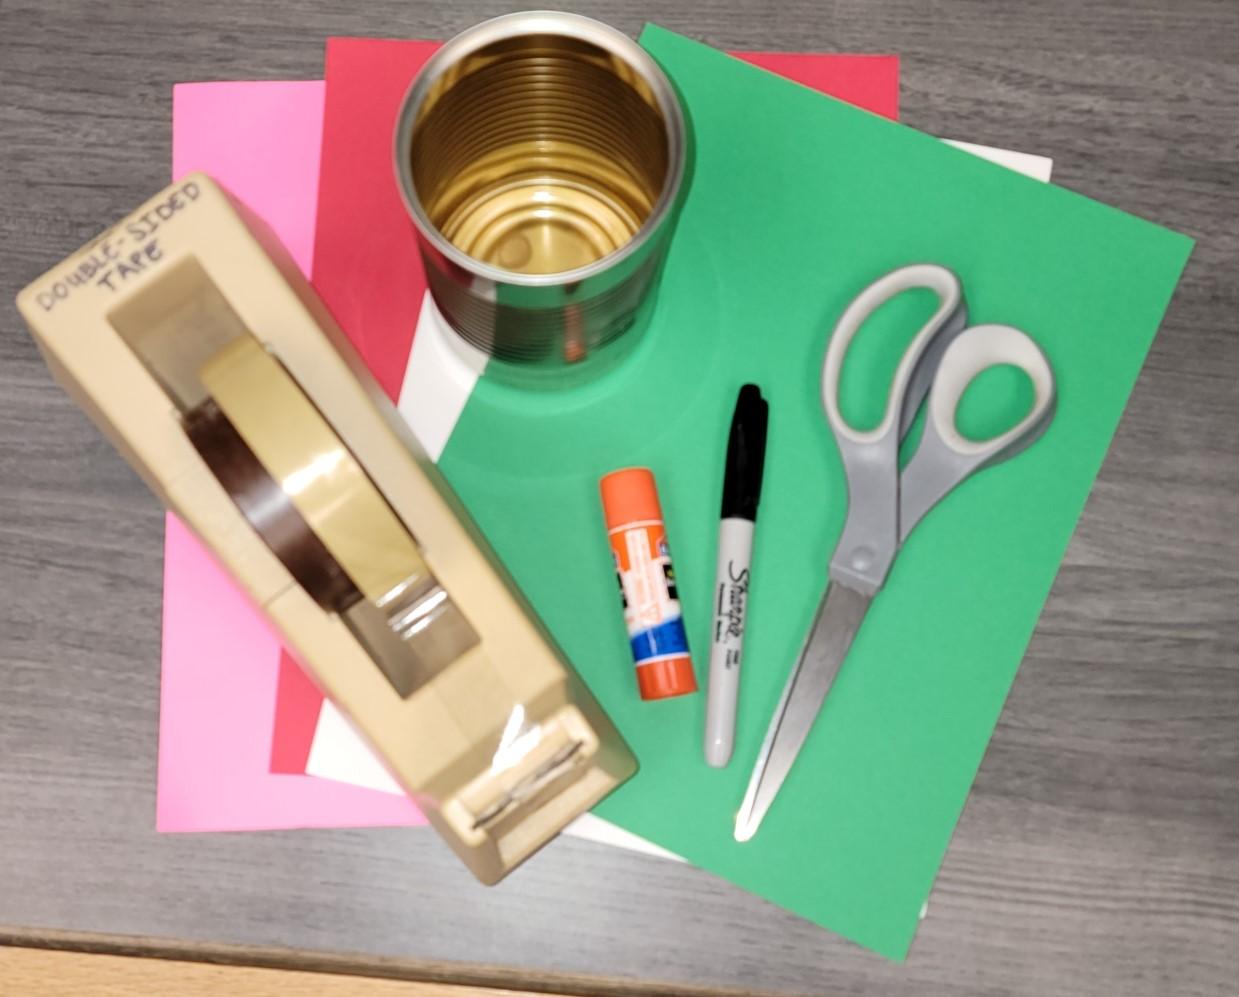
Tin can
Red, white and green paper
Scissors
Double-stick tape
Glue stick
Googly eyes and pink paper (optional)
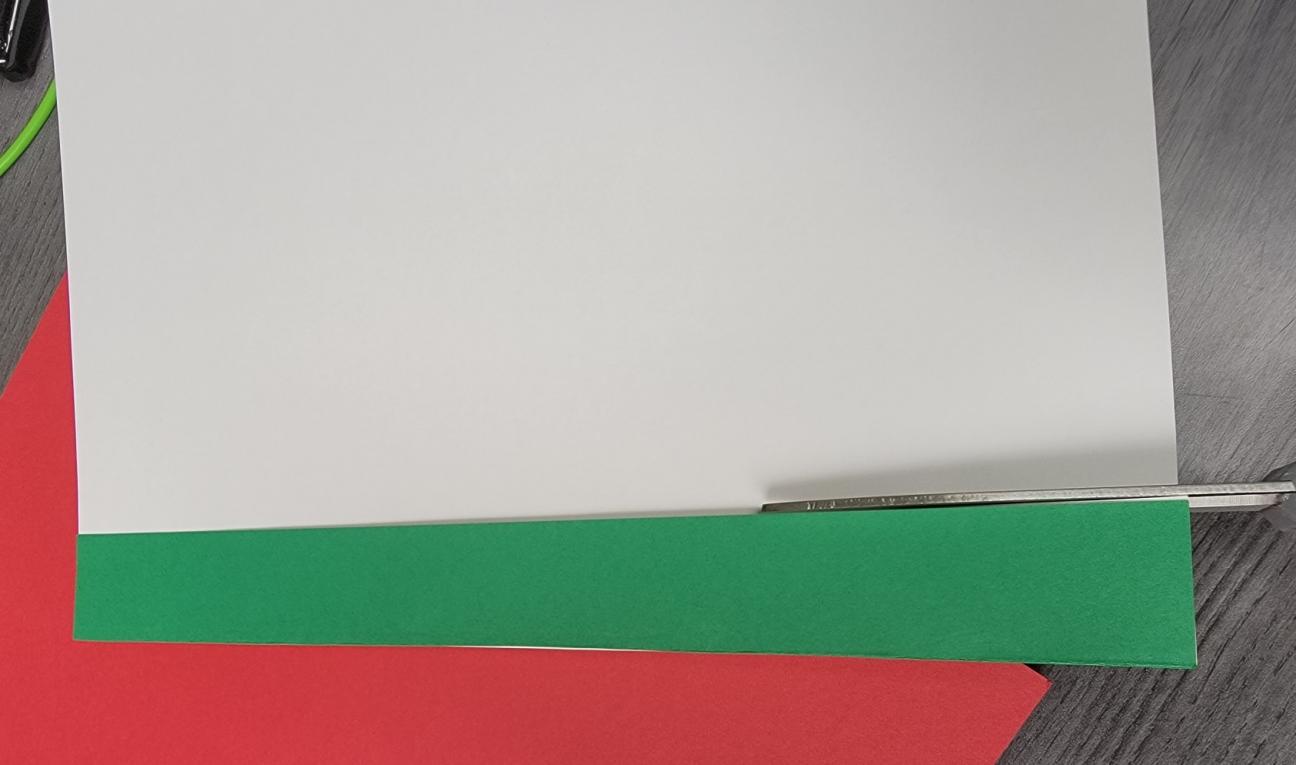
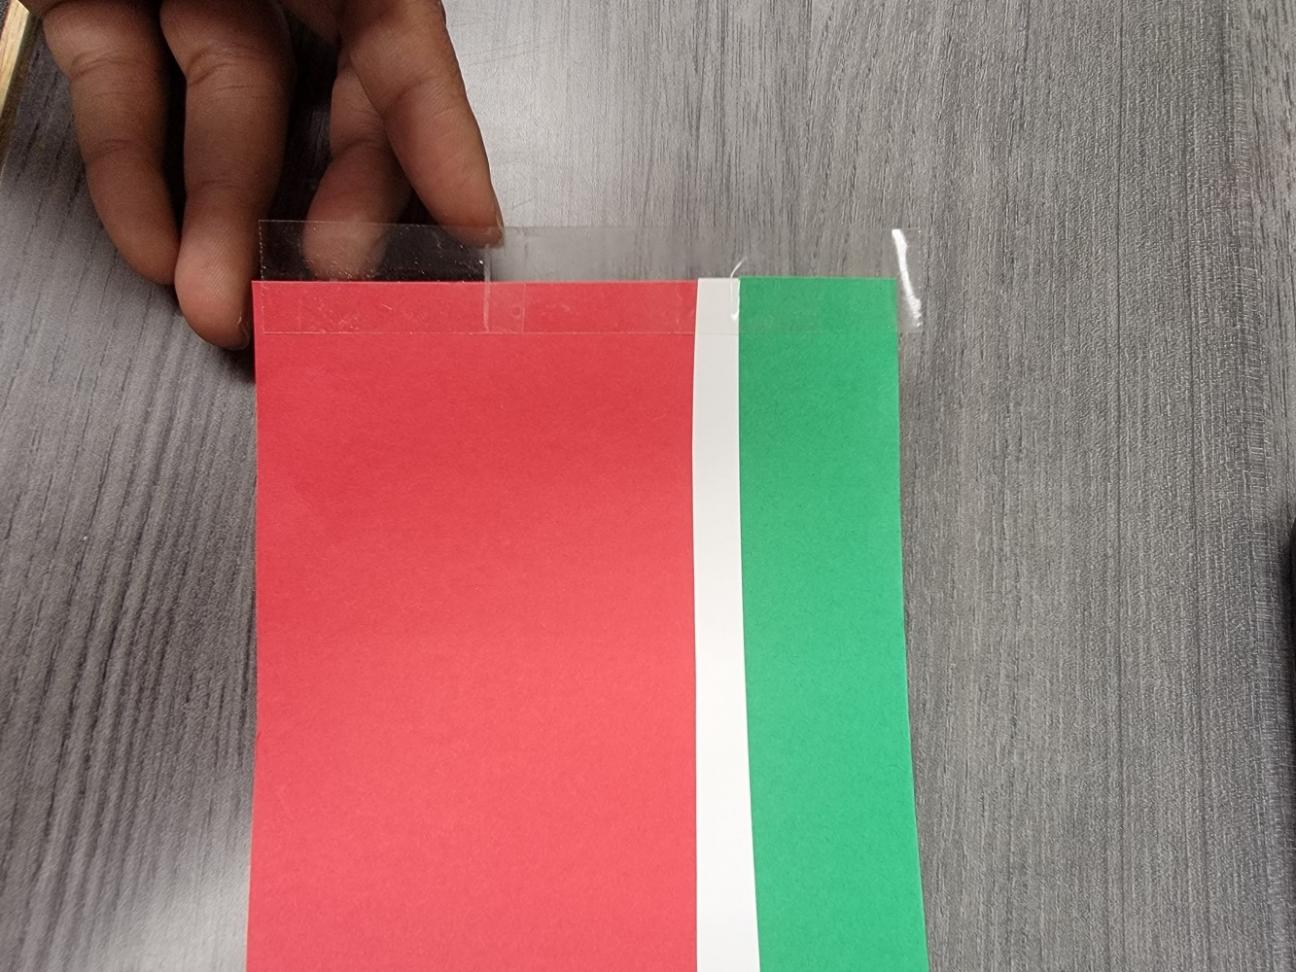
Step 1: Cut a narrow strip of green paper.

Step 2: Use the green strip of paper as a guide to cut the same size strip of white paper.
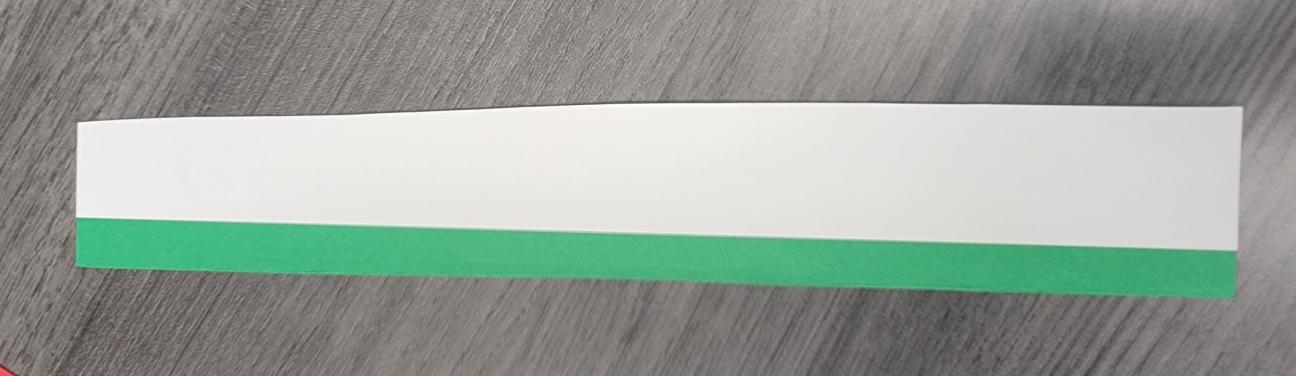
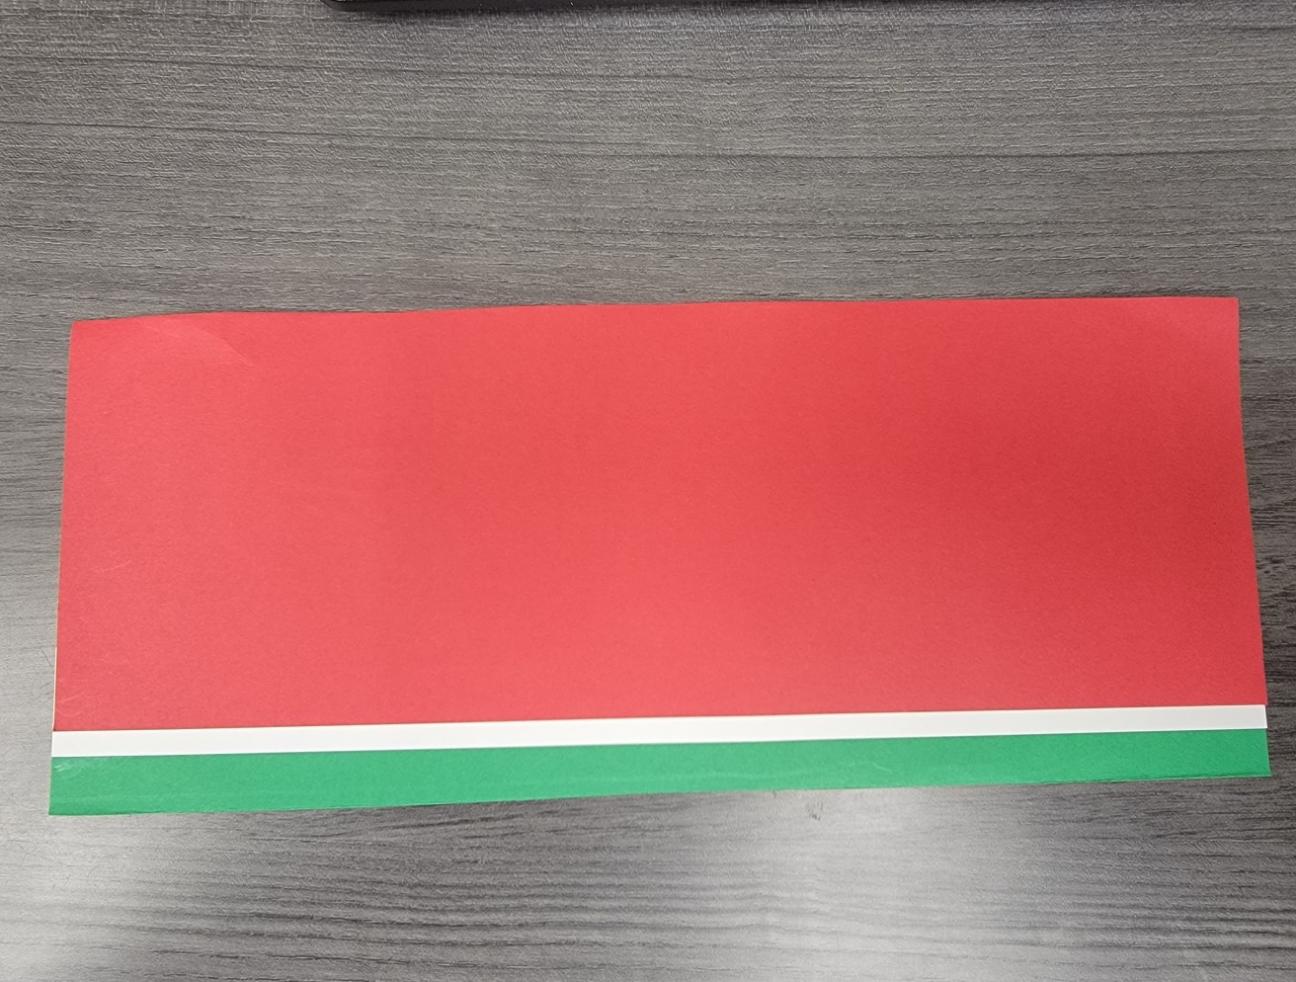
Step 3: Apply glue along the edge of the white strip and attach it to the green strip with a bit of an overlap in the colors. (Tip: You may want to reveal more of the green strip on the bottom and less white for this design.)
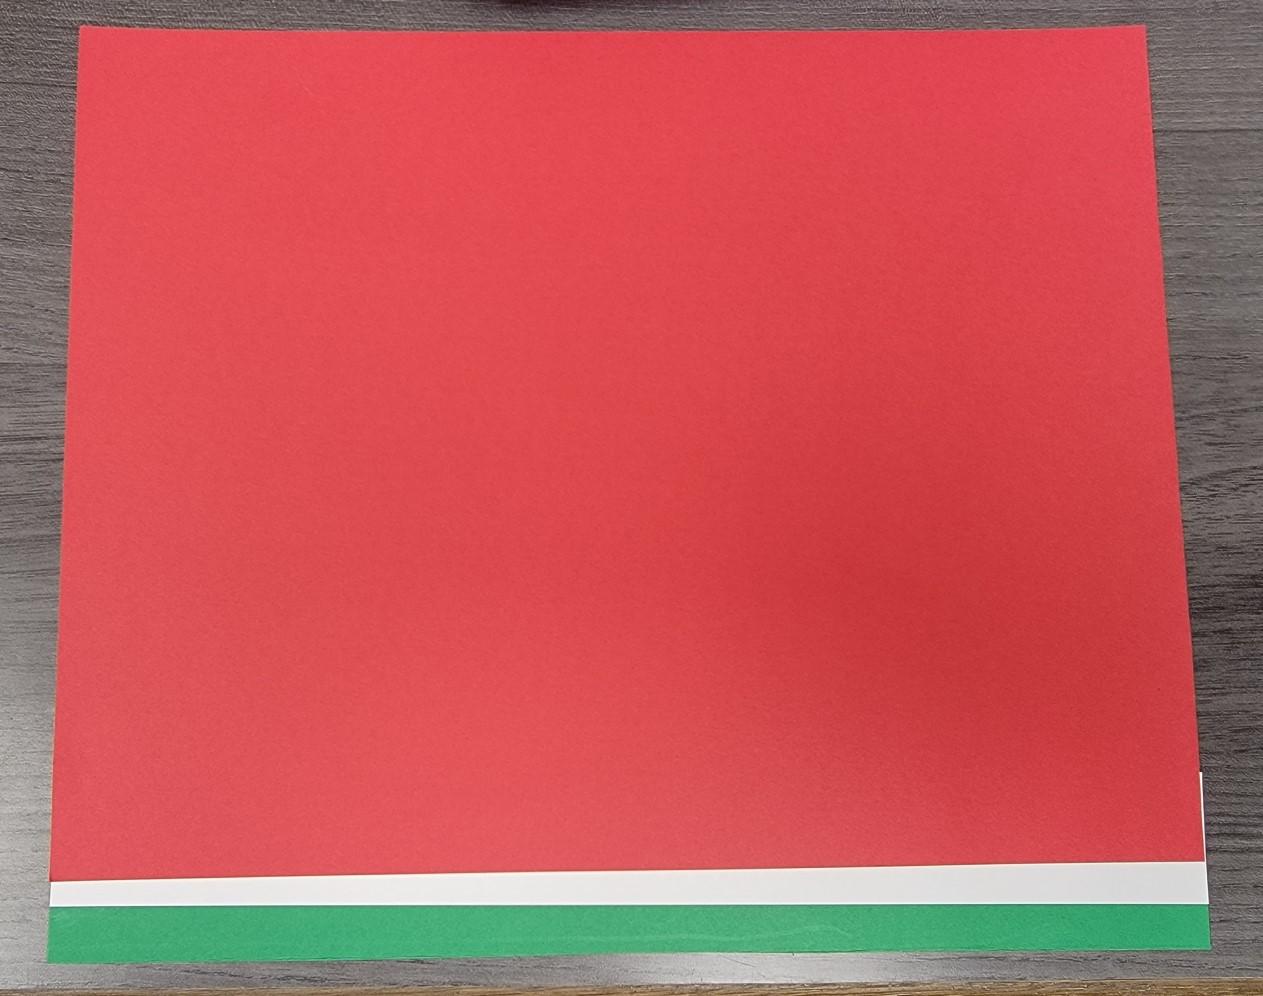
Step 4: Apply glue along the edge of your combined strips and attach them along the edge of the red paper.

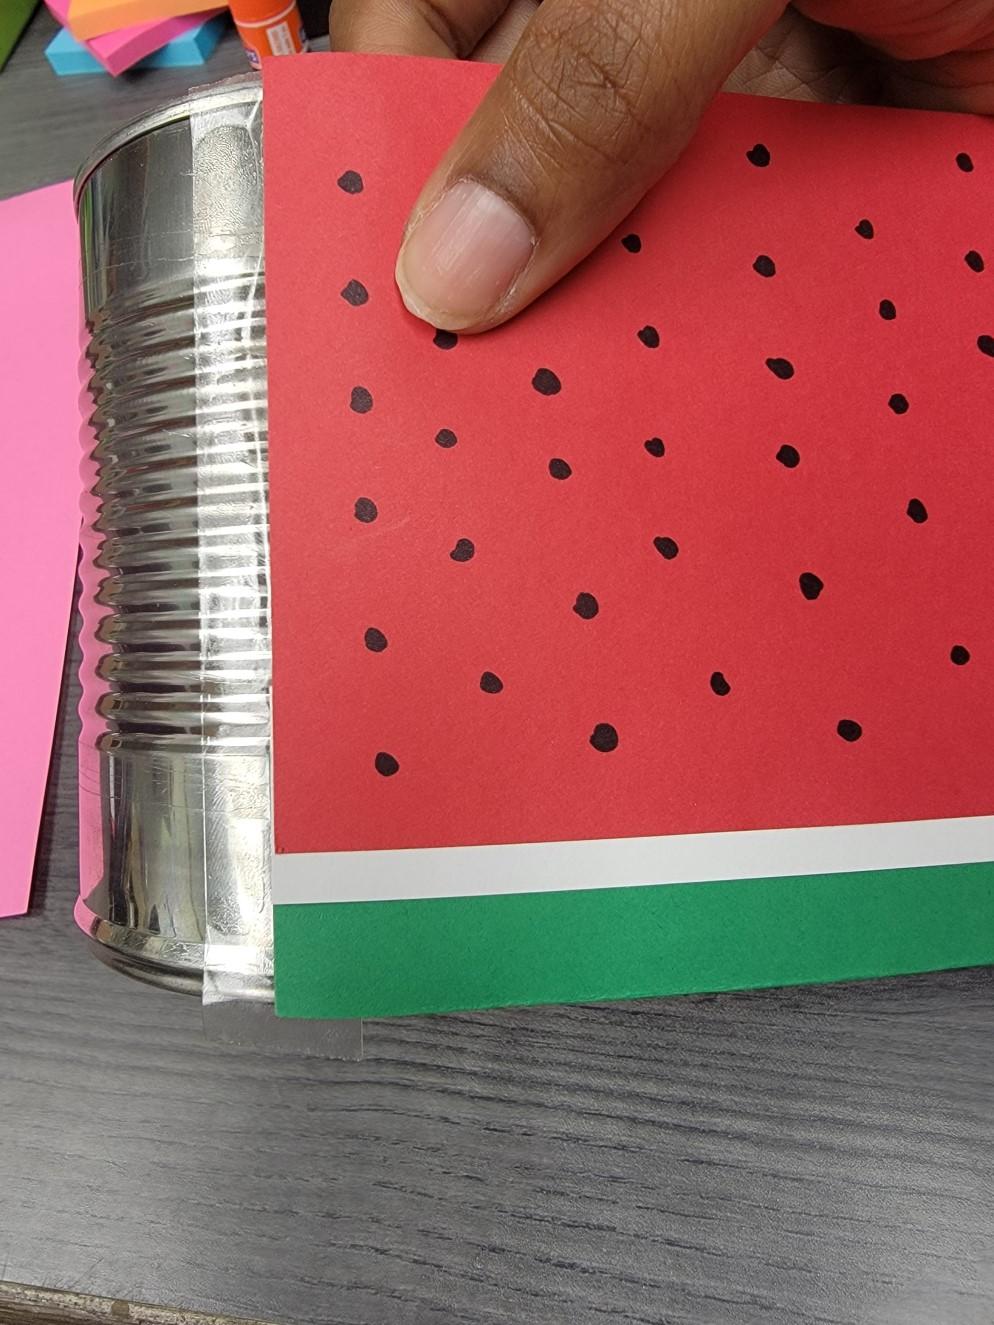
Step 5: Wrap the paper around the can, with the colored strips on the bottom, and press around the top edge of the can to create a crease in the red paper.
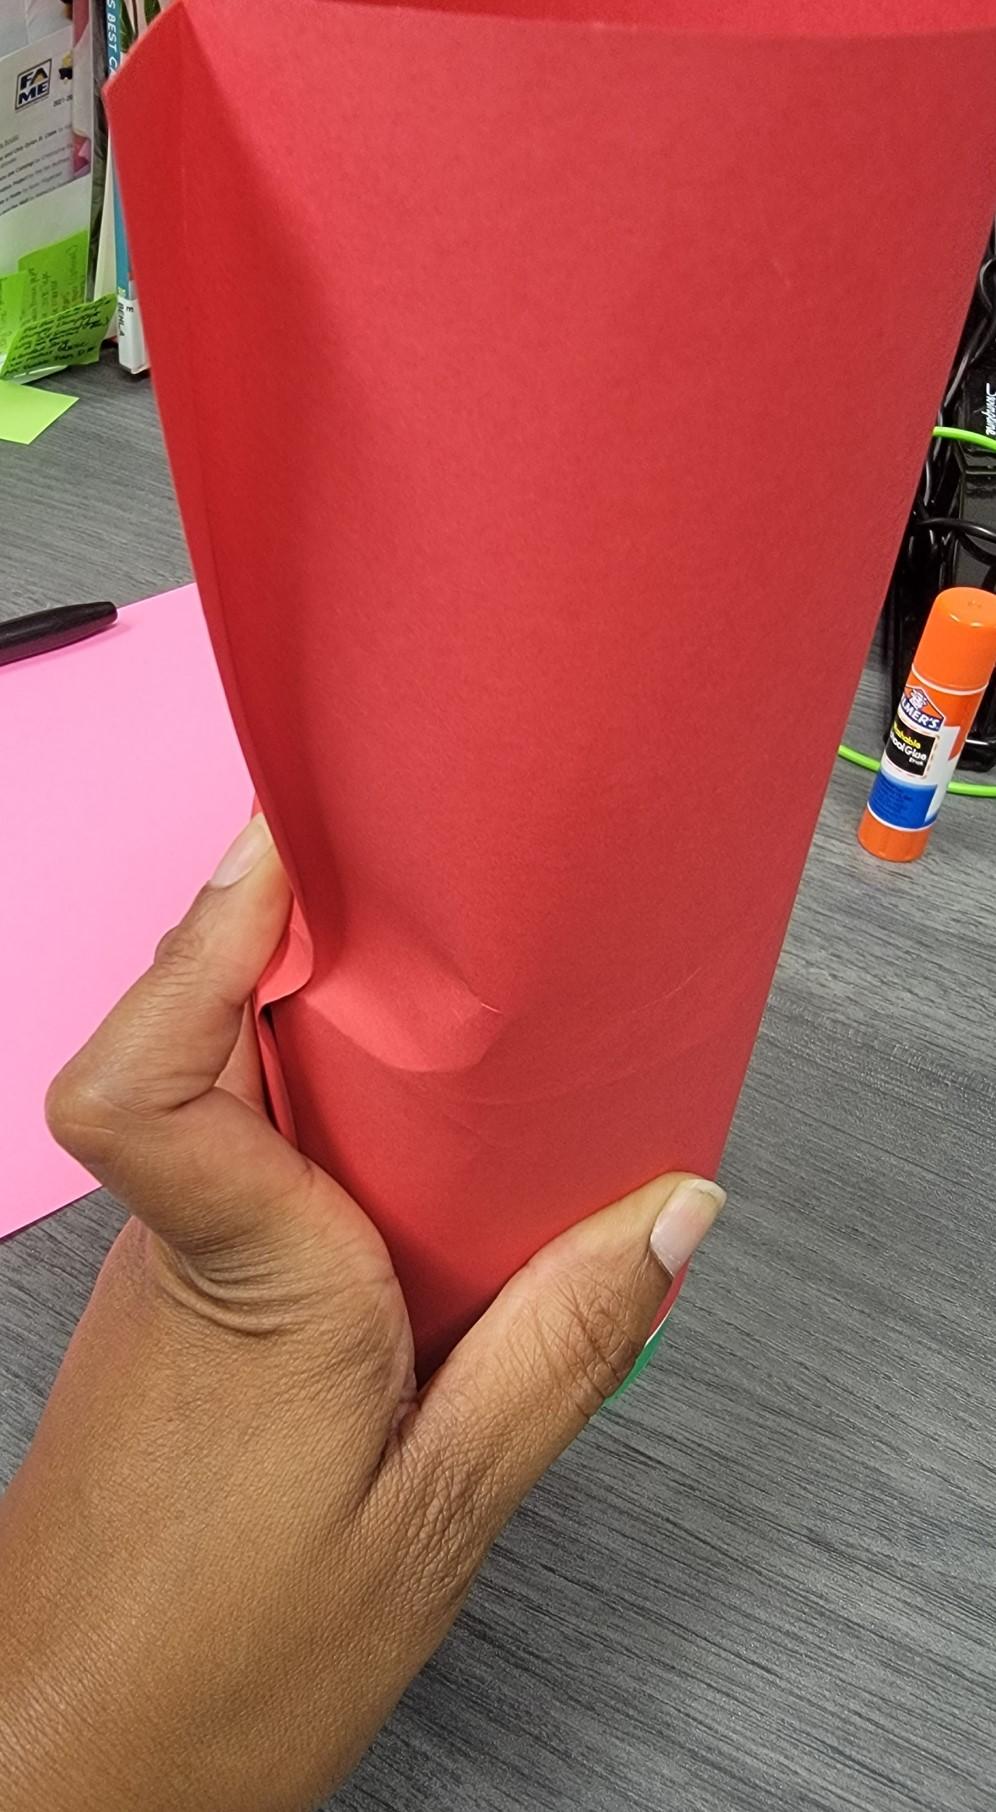
Step 6: Cut along the crease in the red paper to get rid of the excess.
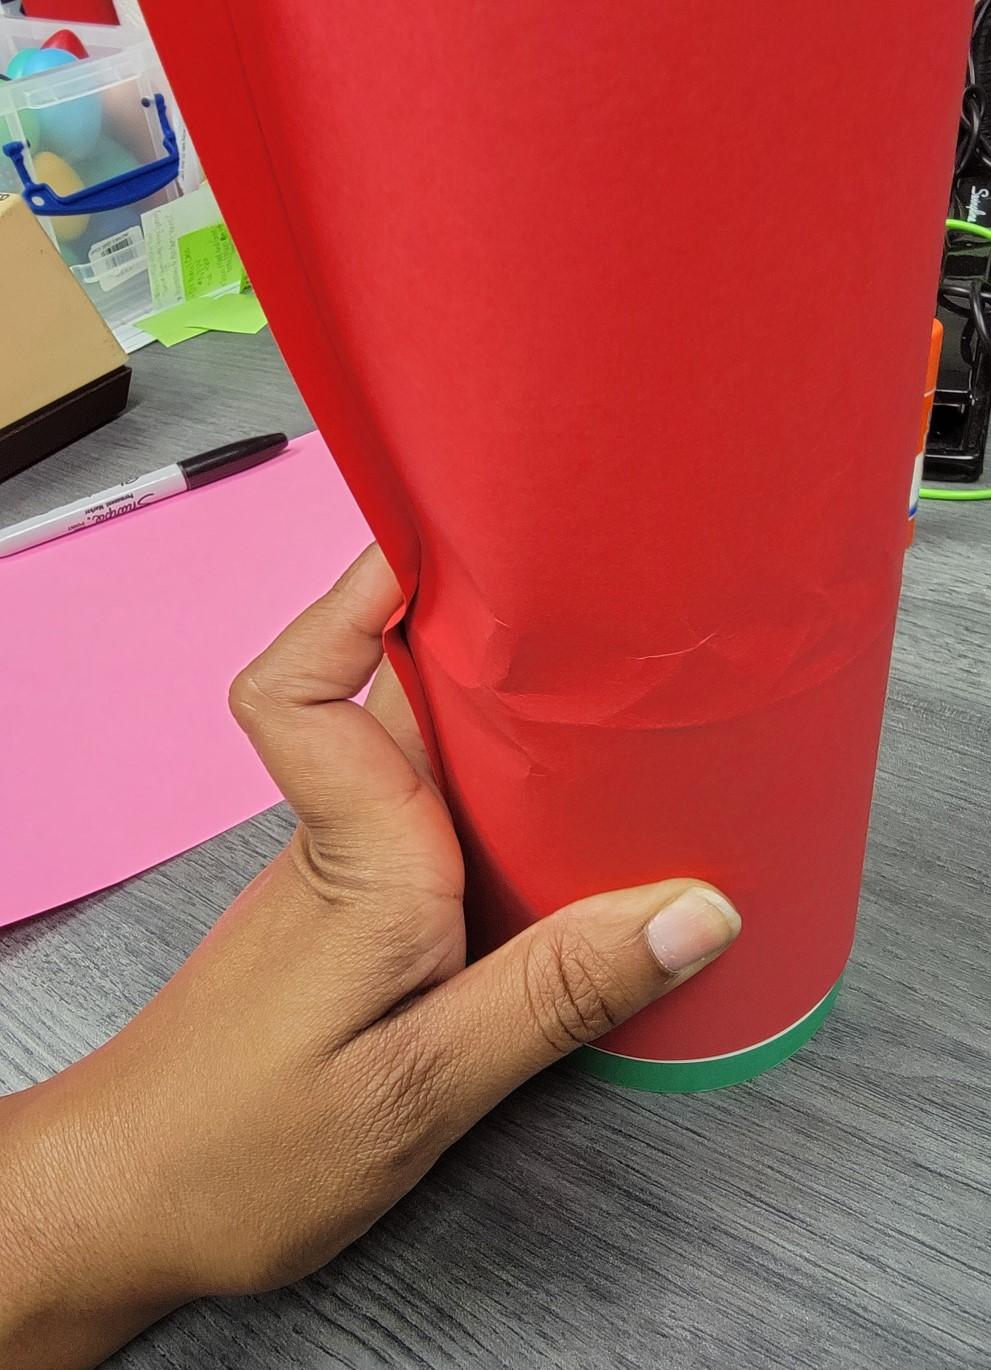
Step 7: Wrap the paper around the can again and fold the excess paper back to create a crease on the end.
Step 8: Cut along the crease to get rid of the excess. (Tip: You may want to leave a little of the excess so that the paper overlaps a tad bit, just to make sure that none of the can is left exposed.)
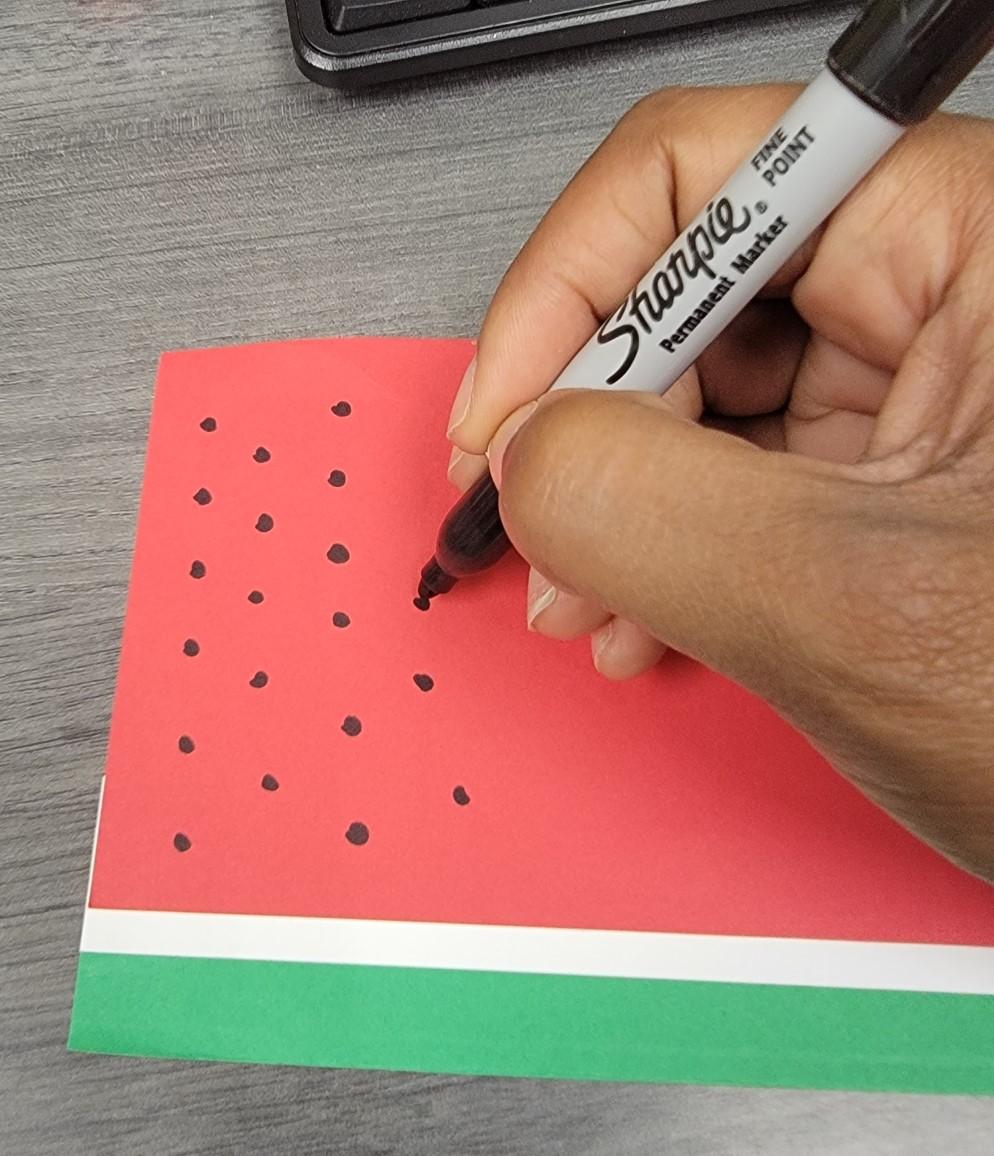
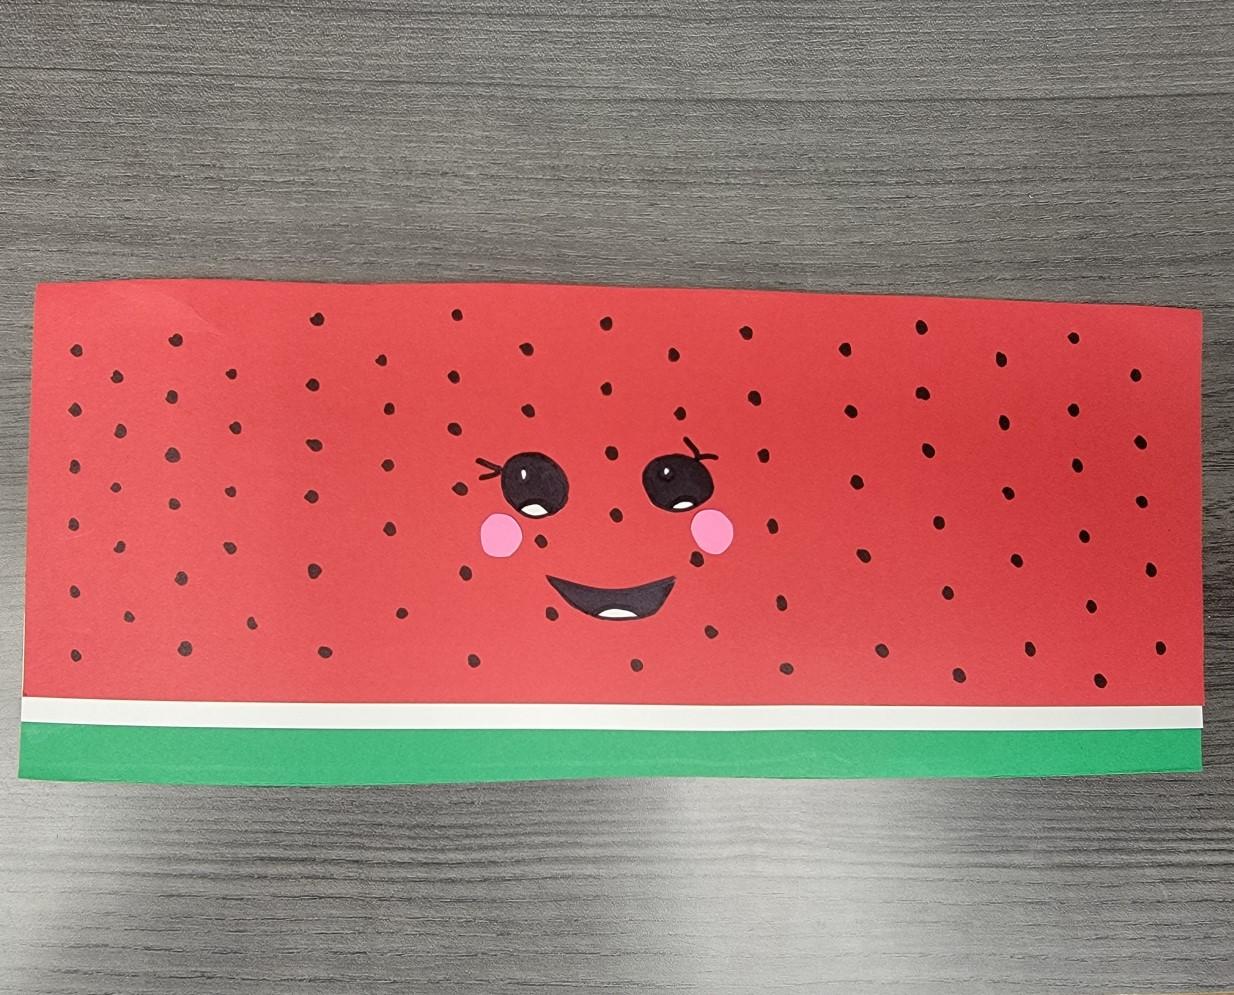
Step 9: Use a black marker to draw seeds in the red area of your paper.
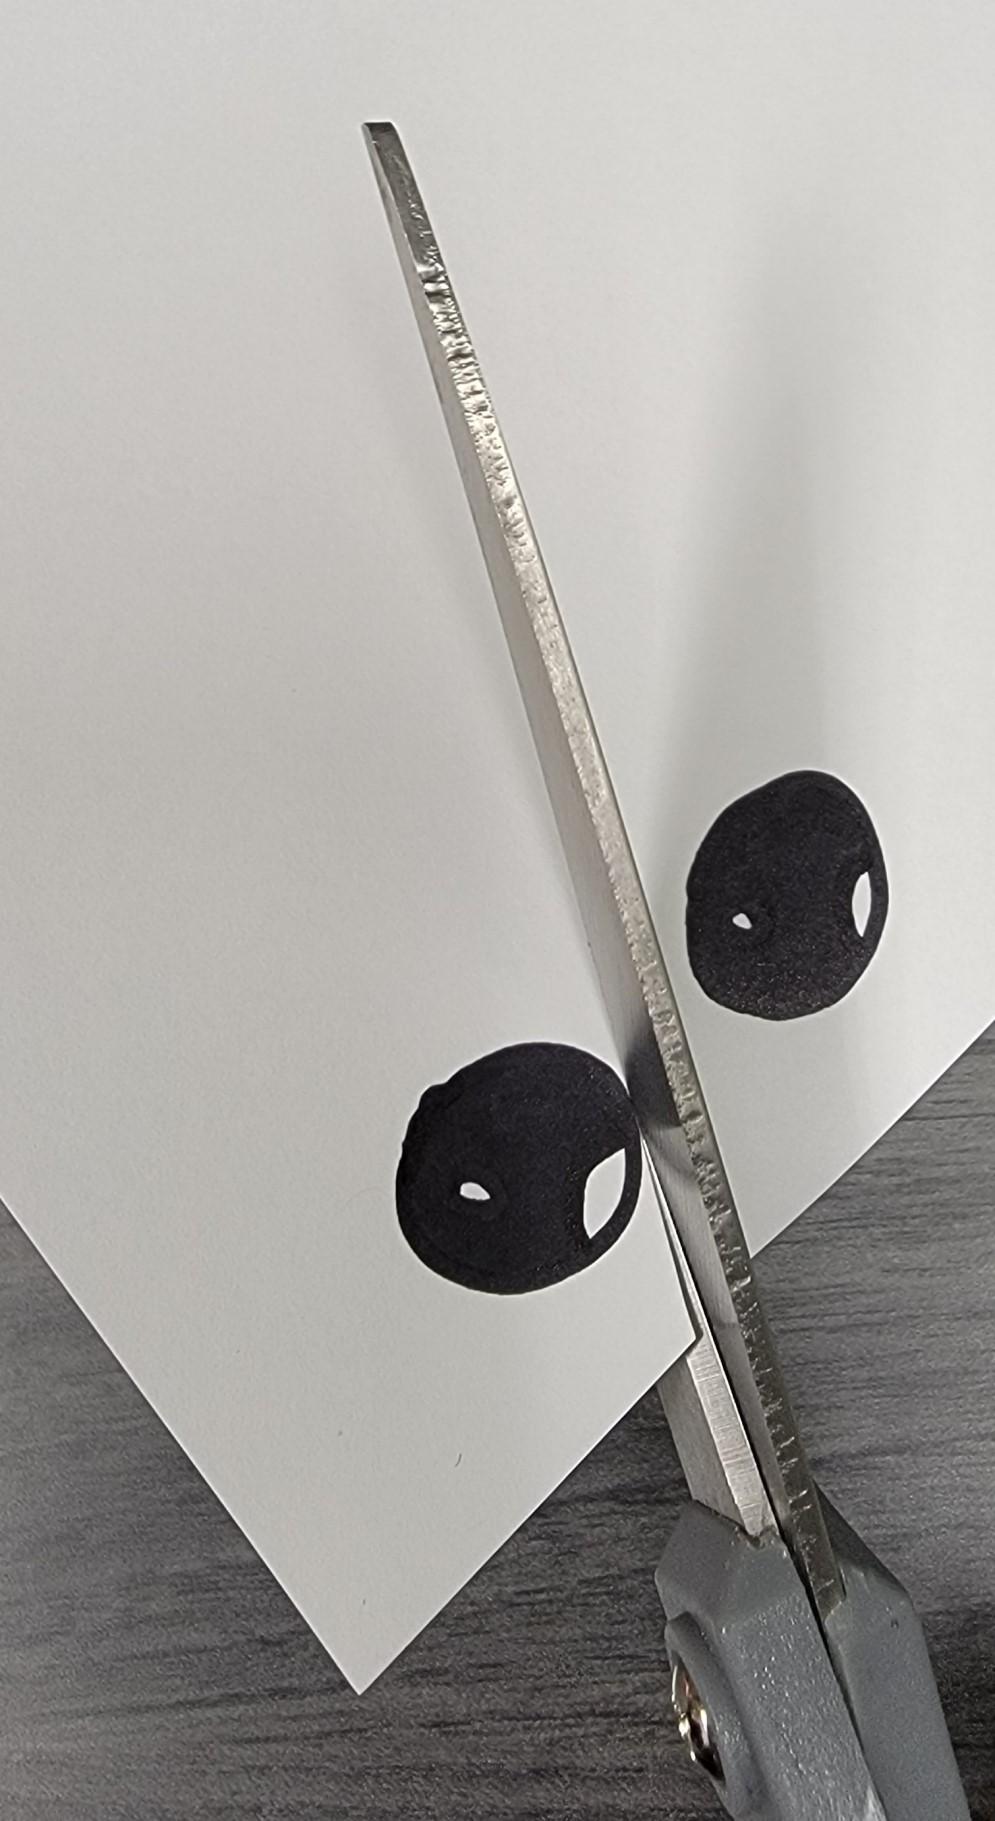
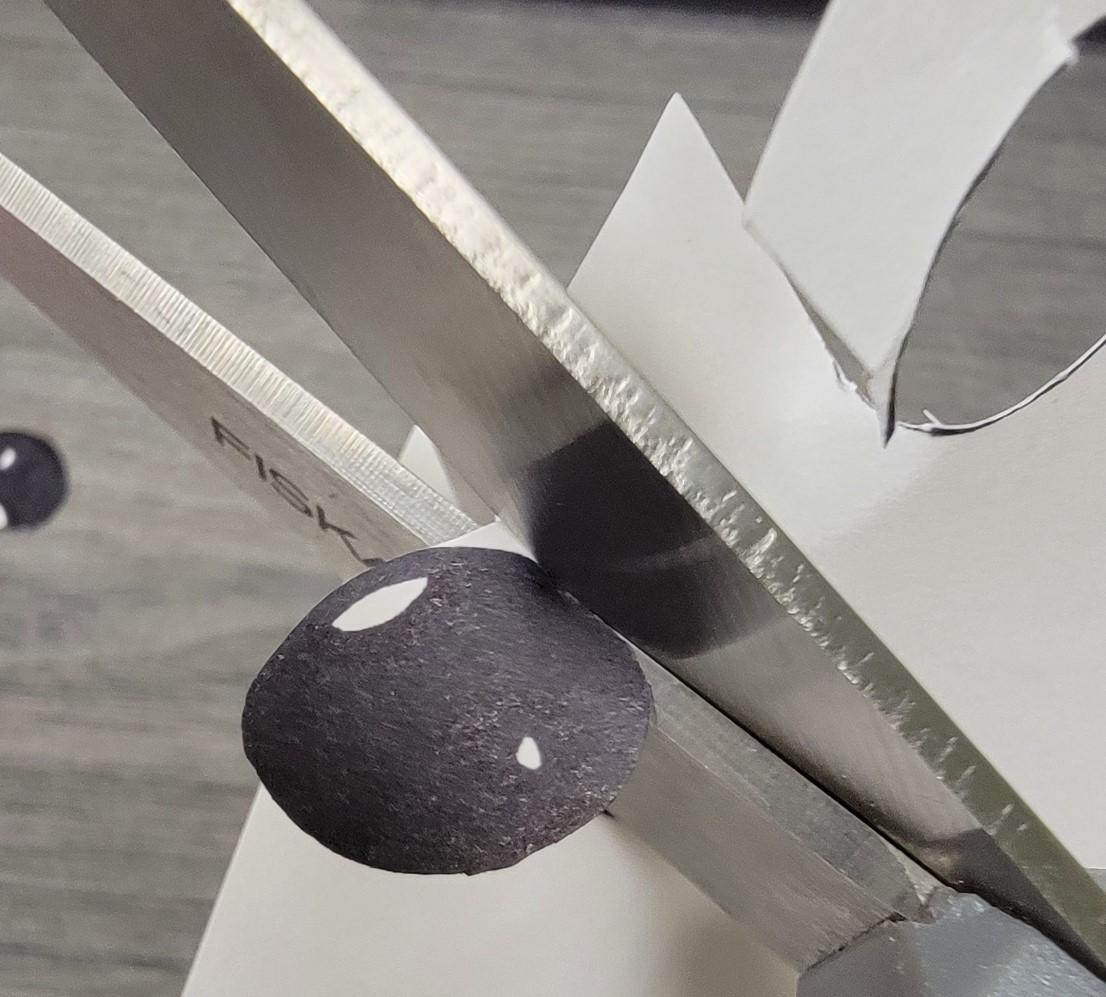
Step 10: Use the excess white paper to draw two eyes and a mouth. (Tip: You may prefer to draw a face directly onto your paper, use googly eyes, or have a watermelon without a face.)
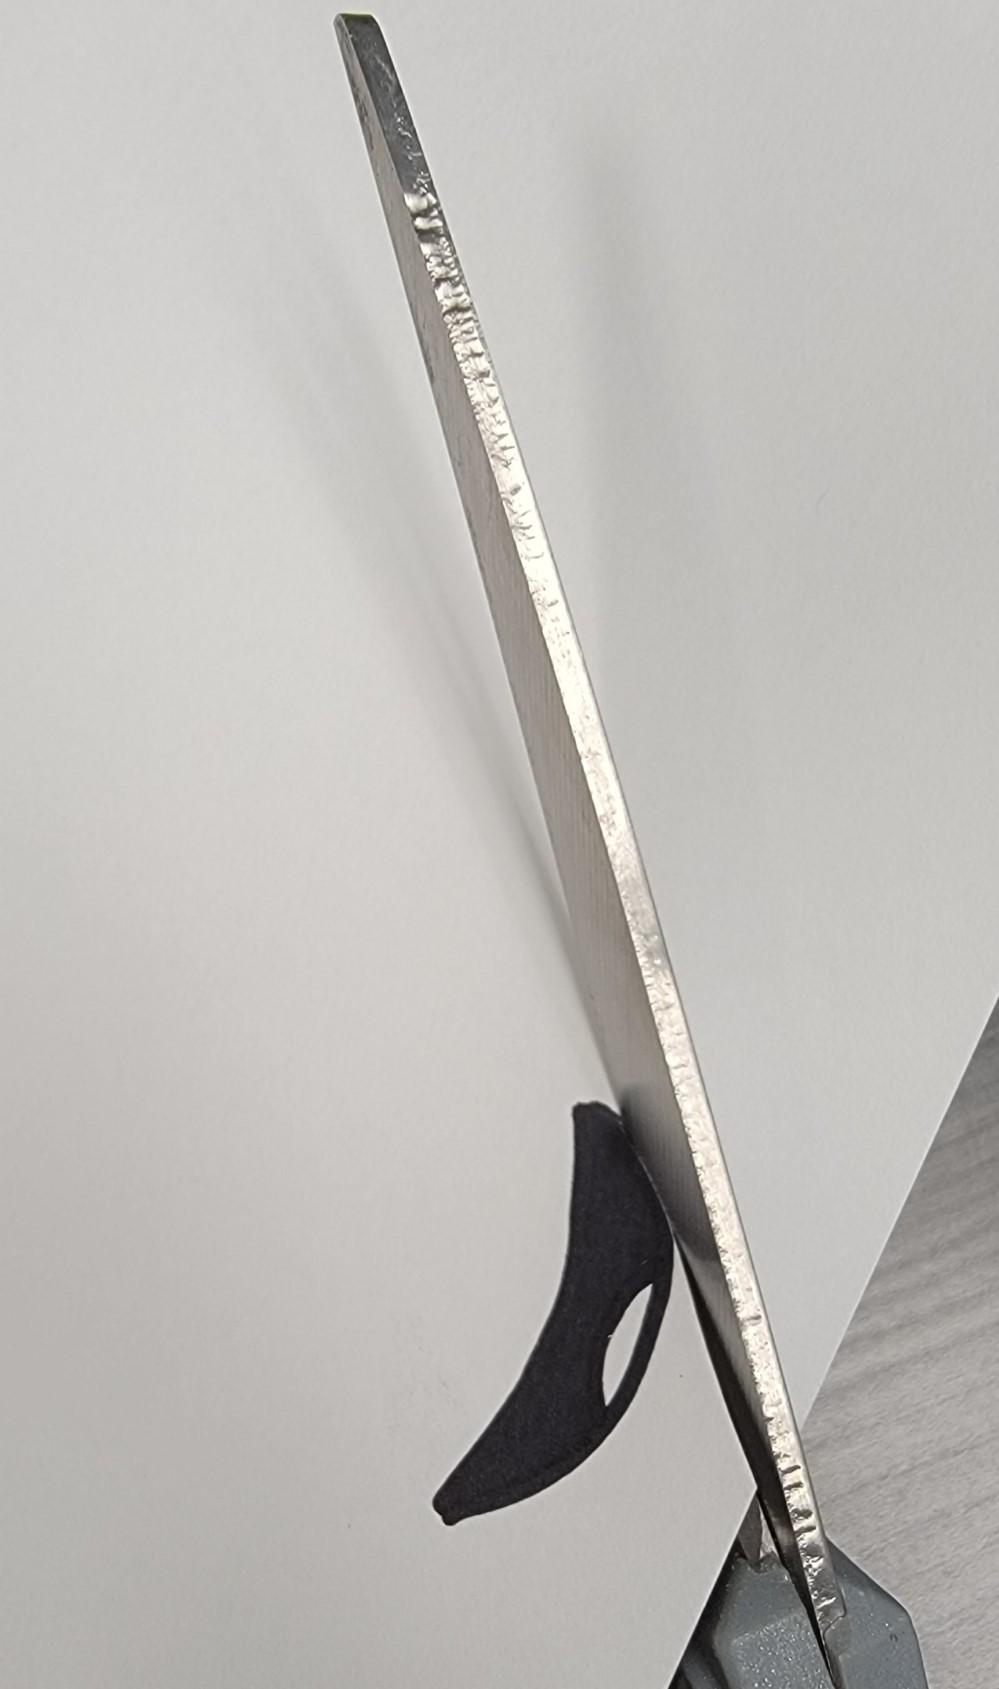
Step 11: Cut out your eyes and mouth. (Optional: Draw two small circles on a pink piece of paper and cut them out to add cheeks to your face.)
Step 12: Use the glue to place them in the middle of your paper. (Tip: You may want to place the pieces prior to adding glue to make sure that you like the final look of the location where you choose to add them.)
Step 13: Add a strip of tape to the edge of your paper and attach it to the back of your tin.
Step 14: Wrap the paper around the tin and attach the other end to the tape, also. (Tip: Add another strip of tape to this end, if necessary to lay flat and completely secure.)
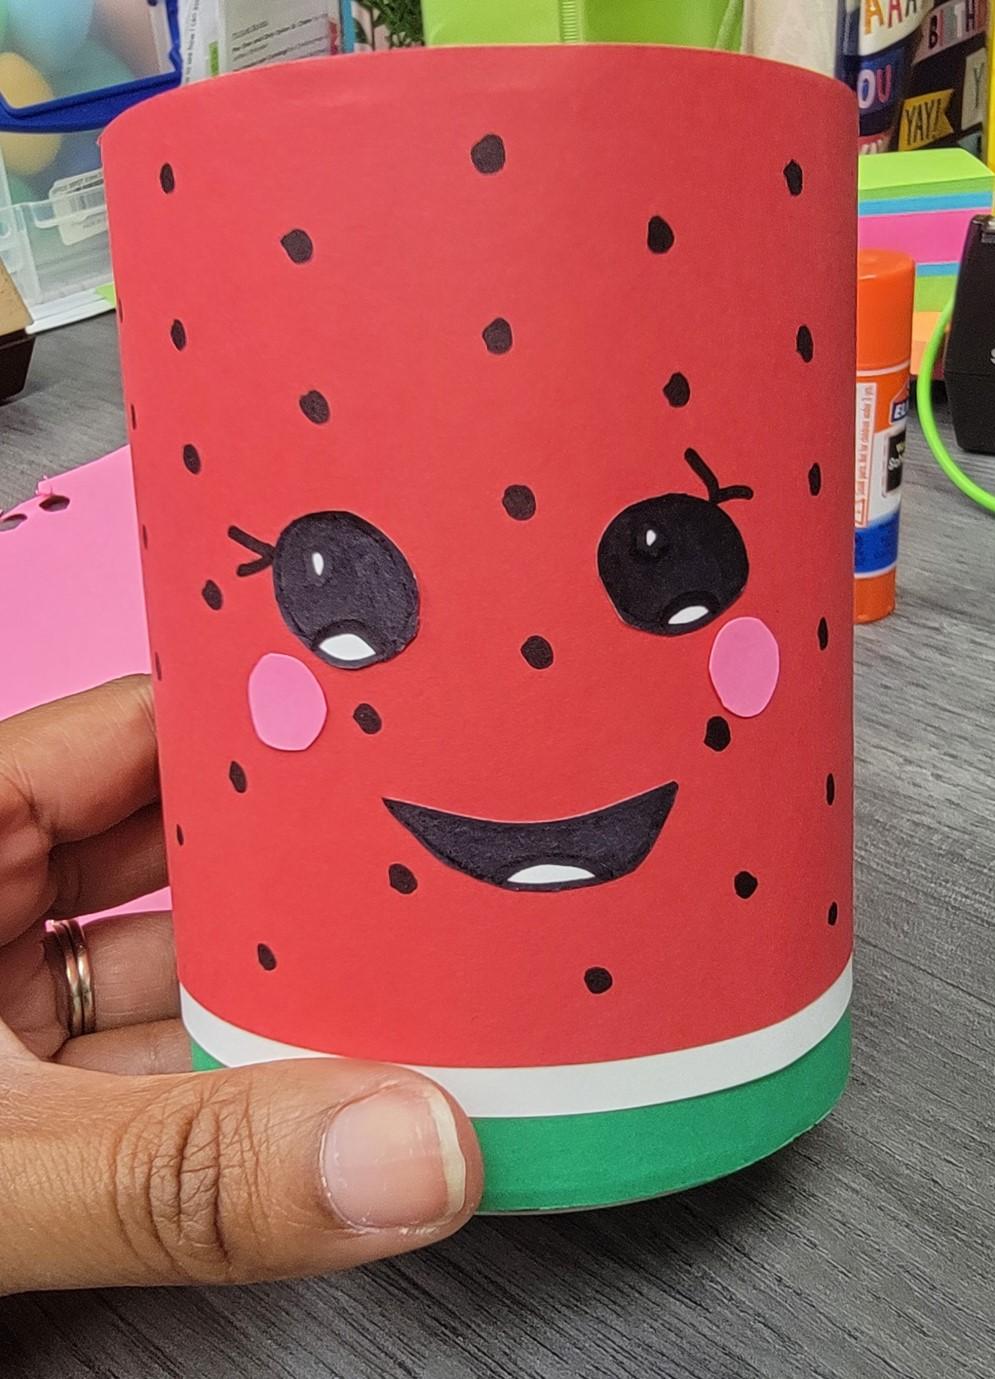
Your pencil holder is now complete!
You can also find other free DIY crafts by logging into Creativebug using your library card.
Learn more about how to help your student succeed in school with these books from the Alachua County Library District's catalog.
Also check out our Parenting and Kids pages for helpful tips and homework assistance.
Happy school year!
_______________________________________________________________________
References
Bettencourt, Amie. "How To Get Your Child Ready For The First Day Of Kindergarten". John Hopkins Medicine, 2021, https://www.hopkinsmedicine.org/health/wellness-and-prevention/how-to-g….
Galuski, Tracy. "Ready Or Not Kindergarten, Here We Come! | NAEYC". Naeyc.Org, 2021, https://www.naeyc.org/our-work/families/kindergarten-here-we-come.
Lahey, Jessica. "How To Help Your Child Succeed At School". Nytimes.Com, 2021, https://www.nytimes.com/guides/smarterliving/help-your-child-succeed-at….
Strasser, Janis. "Transitioning To Kindergarten | NAEYC". Naeyc.Org, 2021, https://www.naeyc.org/our-work/families/transitioning-to-kindergarten.
Weinstock-Savoy, Debbie. "Top Ten Tips For The Transition To Kindergarten". Williamjames.Edu, 2021, https://www.williamjames.edu/community/department-of-community-engageme….