SNOWFLAKES GALORE!
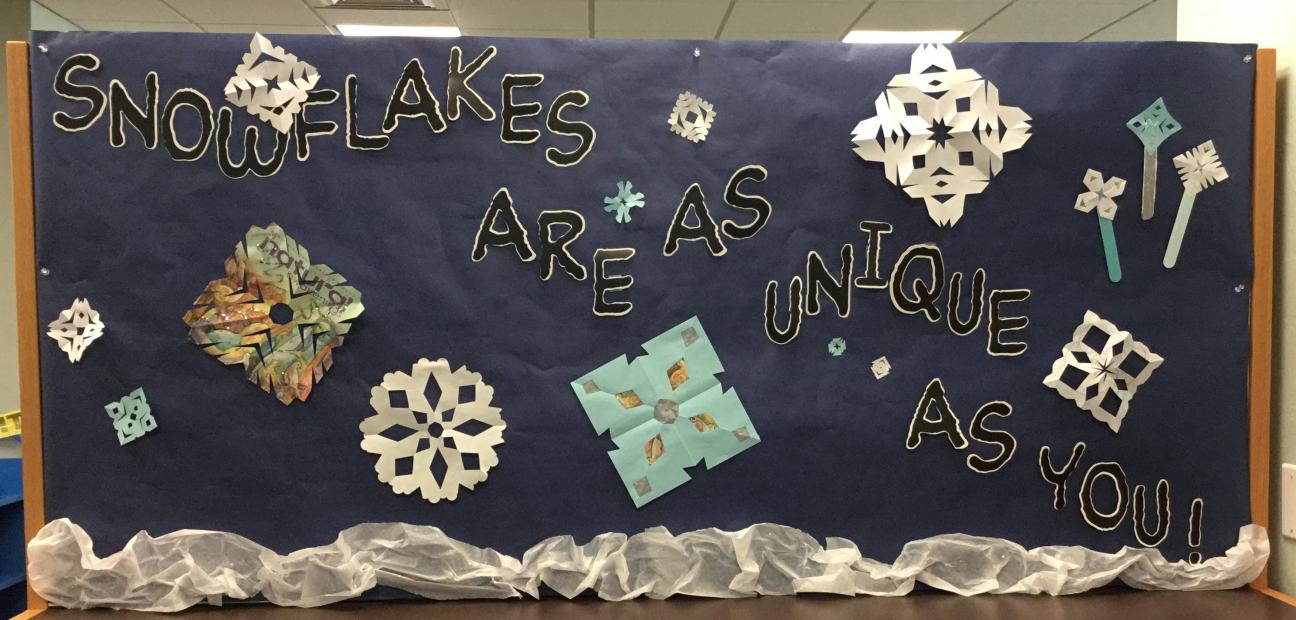
The winter season is upon us, now is the time to celebrate it with a paper craft everyone can make with family and friends. So let's get ready for the chilly weather by making snowflakes as UNIQUE as you! Decorate a window, tree, or wall with your paper snowflakes, tie two or three on a coat hanger to make a mobile, attach several to a string for a garland, or give as gifts to those you love this winter season.
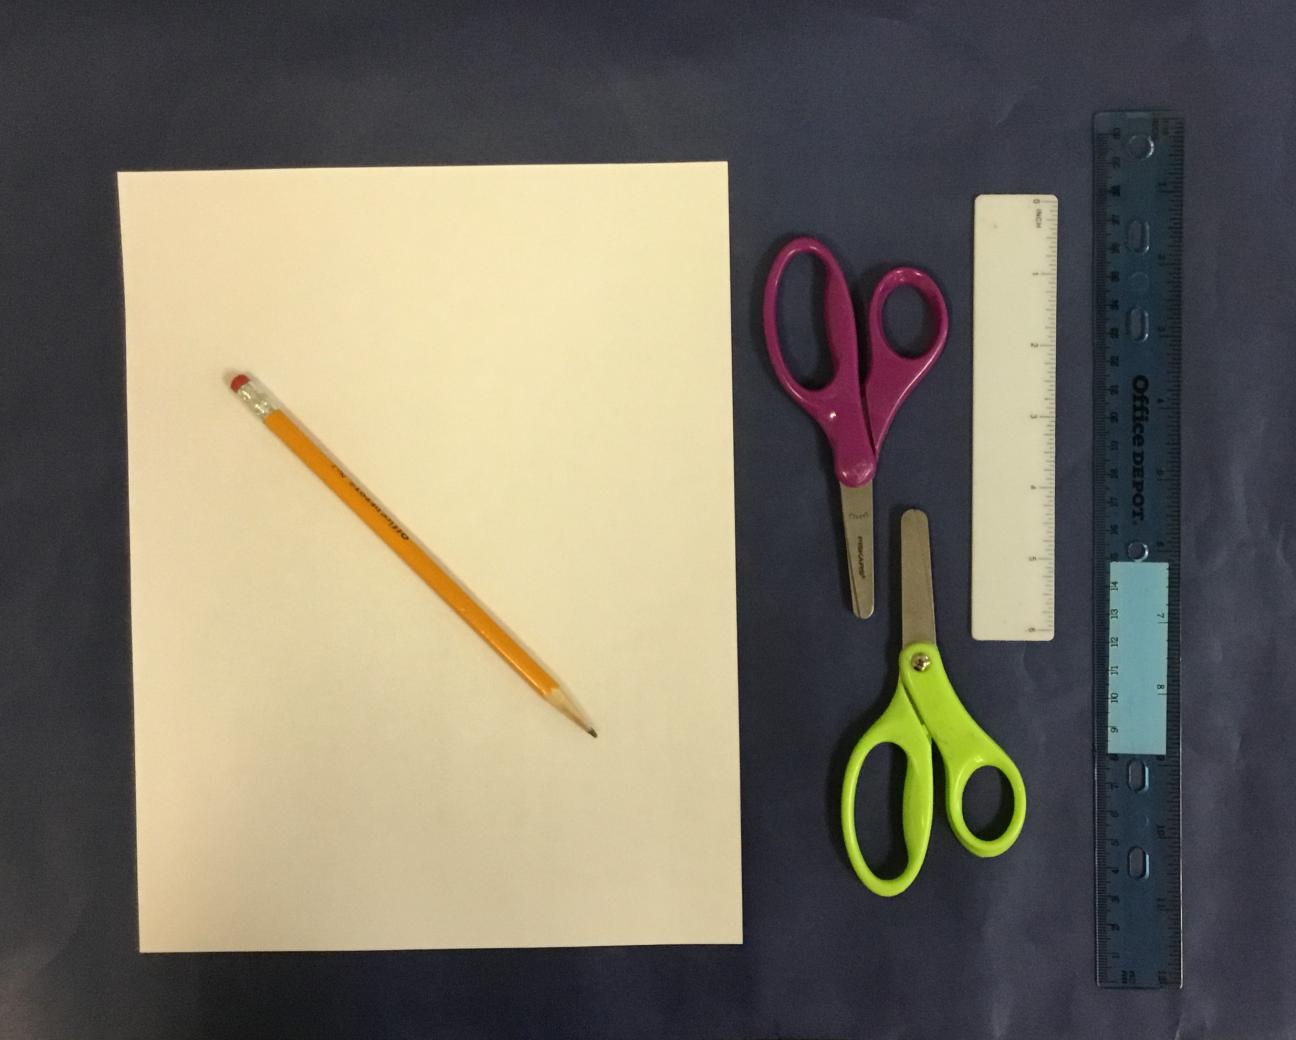
Basic Supplies (Paper, Safety Scissors, Pencil, Ruler)
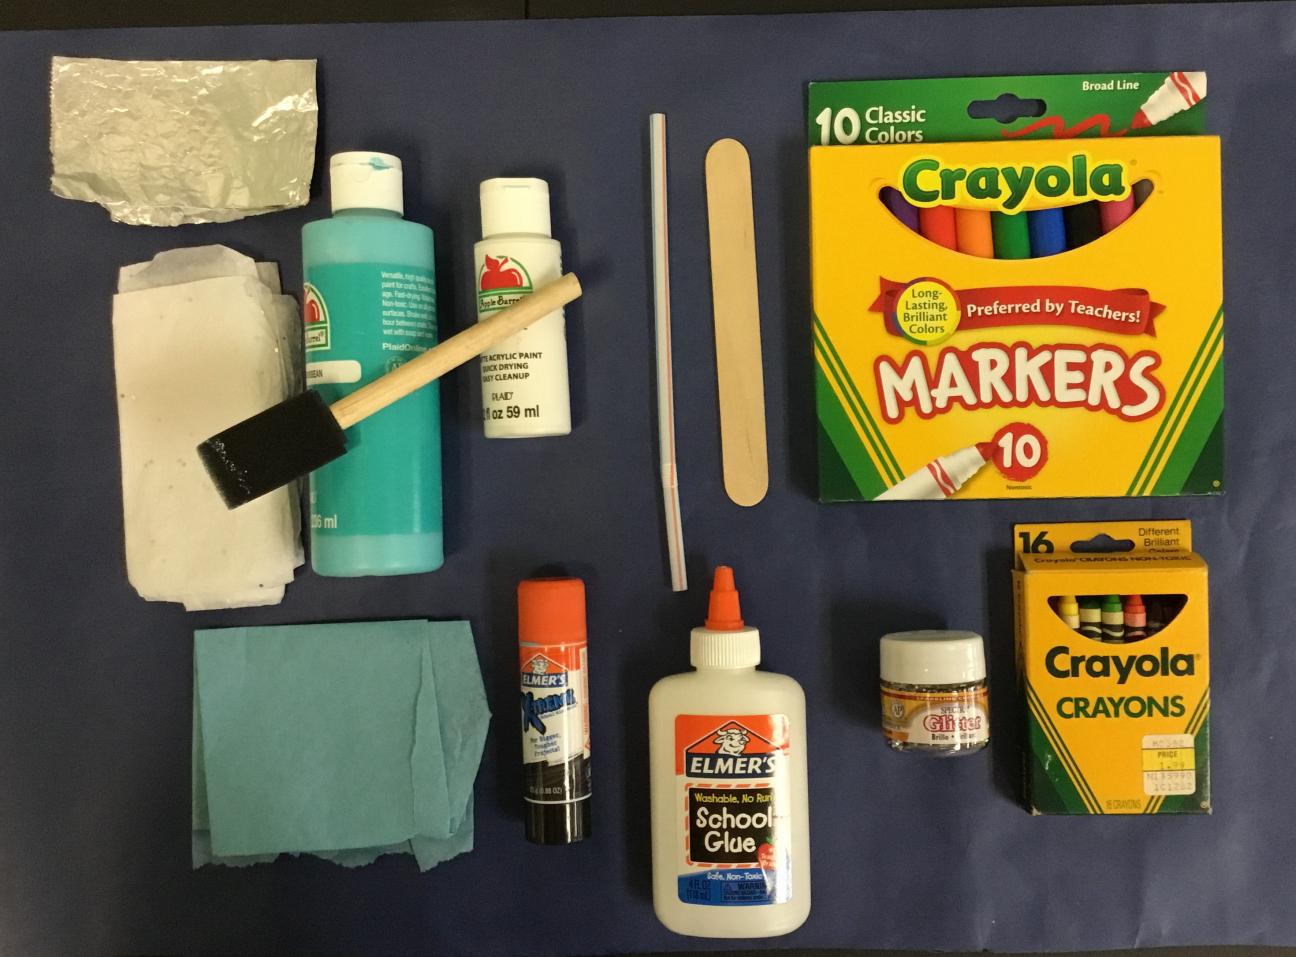
Additional Supplies (Crayons, Color Pencils, Glue, Finger Paint, Glitter, Tinfoil, Tissue Paper, Etc)
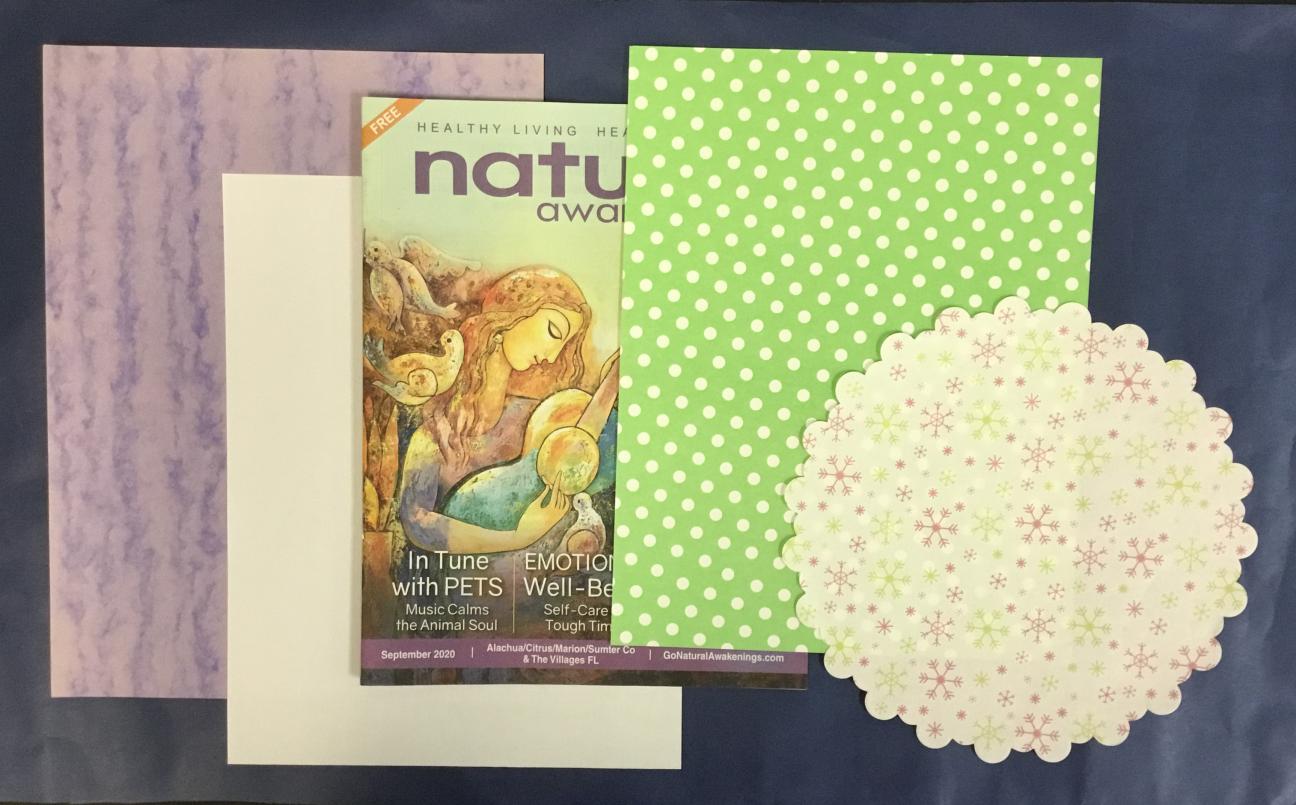
Paper Choices (Magazine Cover, Newspaper, Copy Paper, Construction Paper, Paper Doilies, Crafting Paper)
Paper Folding Steps (If you want, use crayons or markers to color the paper before folding it.)
Step 1 - Pick one corner of the paper, fold over to make a triangle.
Step 2 - Cut off the bottom of the paper.
Step 3 - Fold a second time, corner to corner.
Step 4 - One more fold, corner to corner, flatten each side with a ruler.
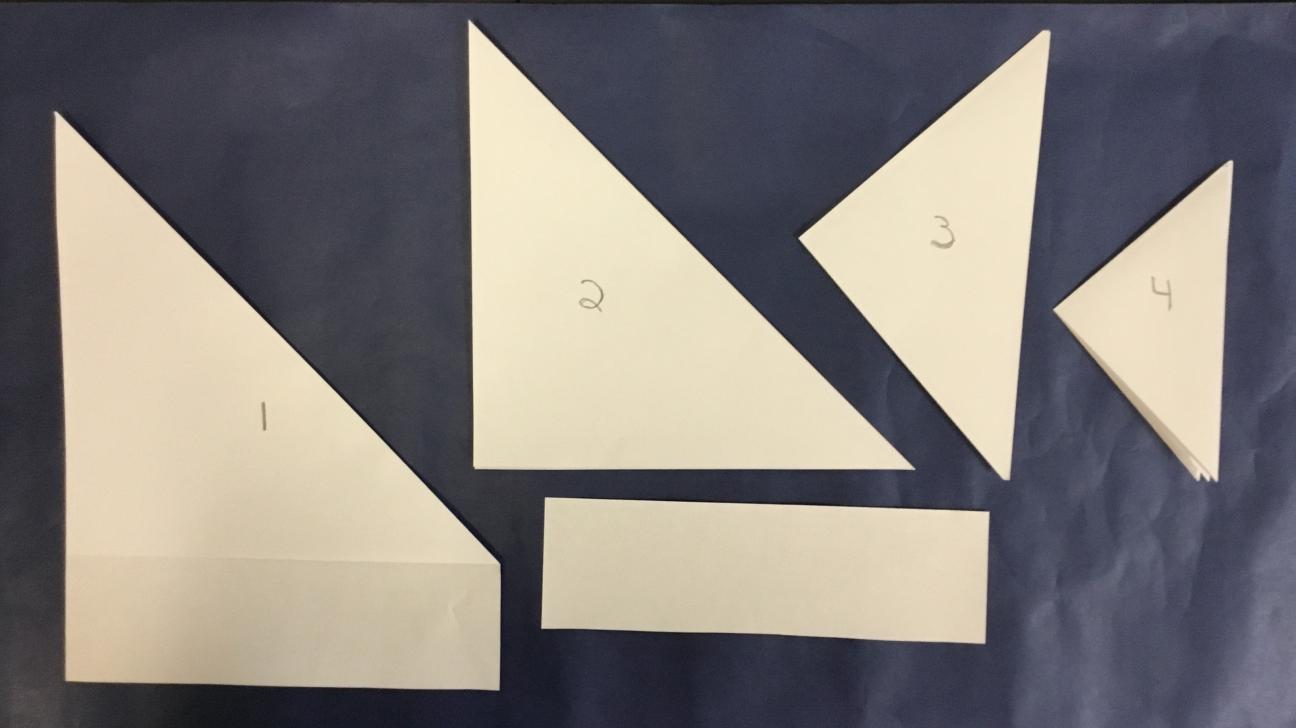
Step 5 - Cut out different triangle sizes along the 3 edges. You may draw triangles first before cutting them out.
Step 6 - Carefully open your snowflake.
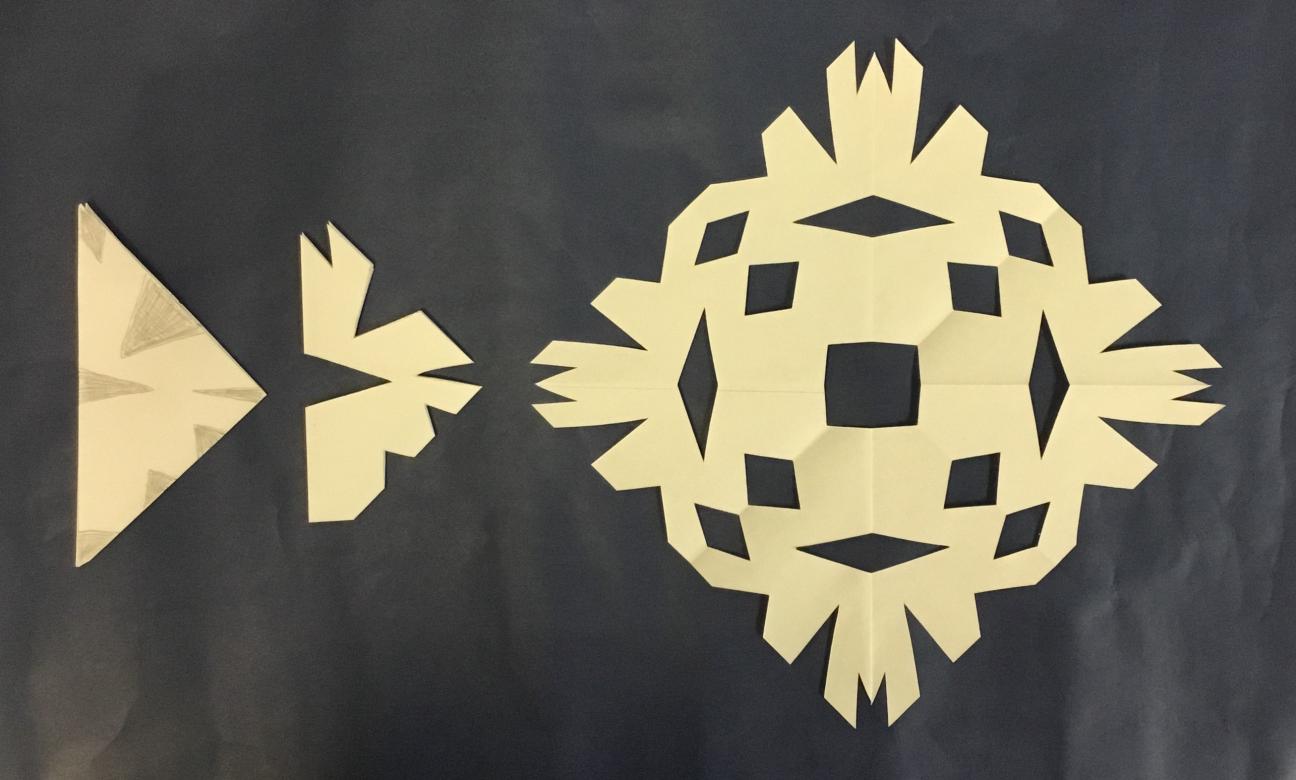
WOW!! Your Snowflake is Way Awesome. Just like YOU!
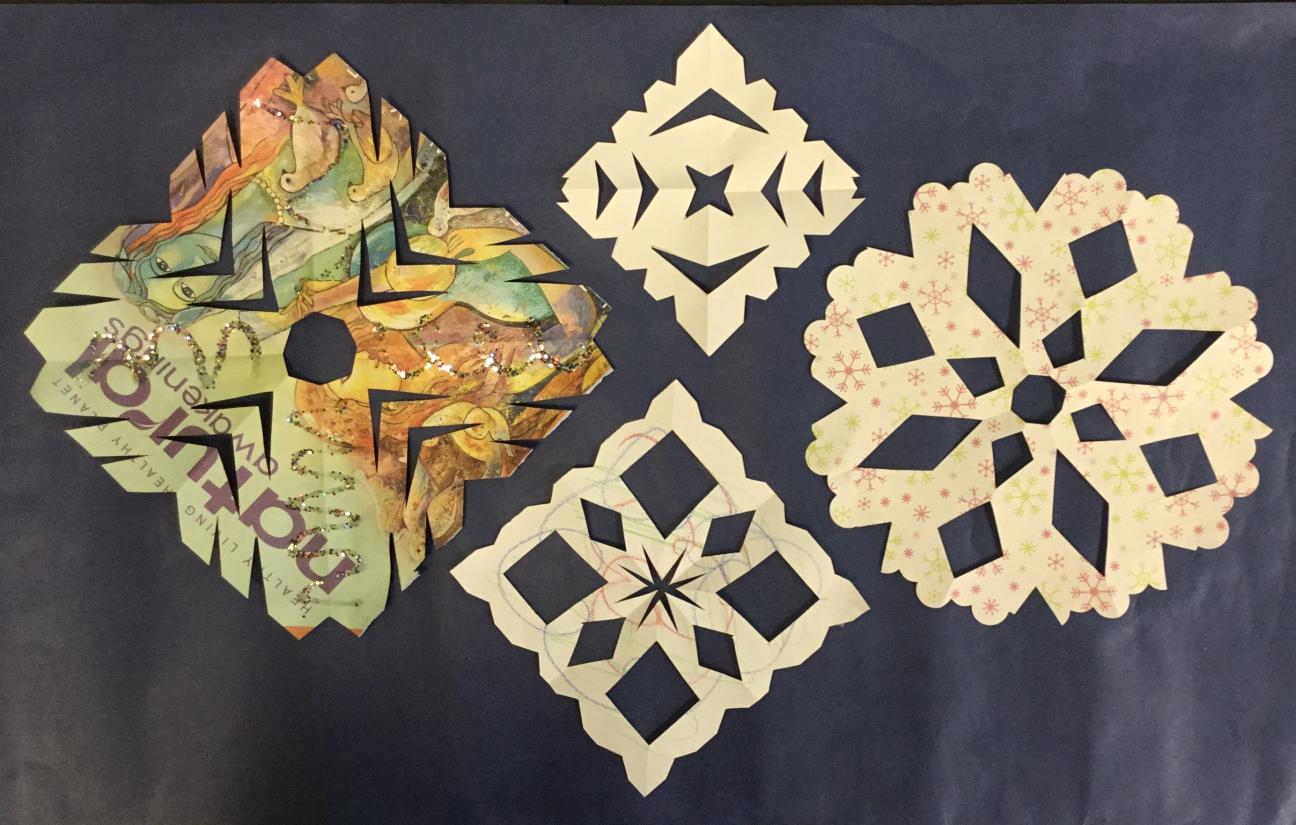
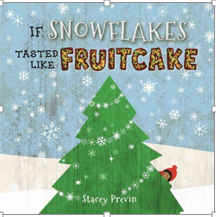
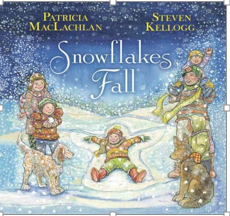
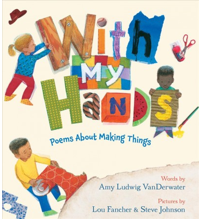
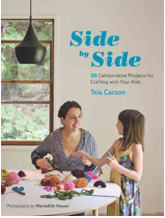
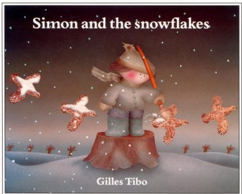
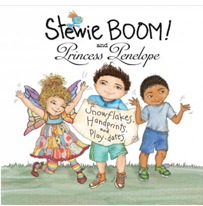
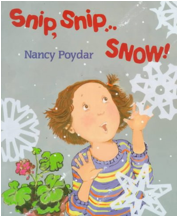
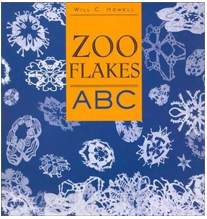
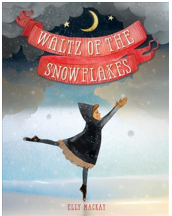
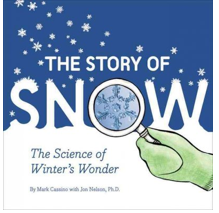
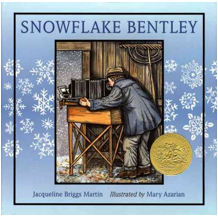
After making your own amazing snowflake, check out the list below for books you may borrow at the library.
Poetry
Crafts
Picture Books
Science of Snowflakes
Real Snowflake Images
CBS KIDS: Getting Up Close with Snowflakes
Advanced Snowflake Directions (Google or YouTube)
How to make 6 point snowflakes
Paper Snowflakes Decorating a Window

